Some time in September, (because who needs a calendar anymore?) Jeff lost his job and we fled to the family cottage in Michigan, bringing the cats and some boxes of art supplies.
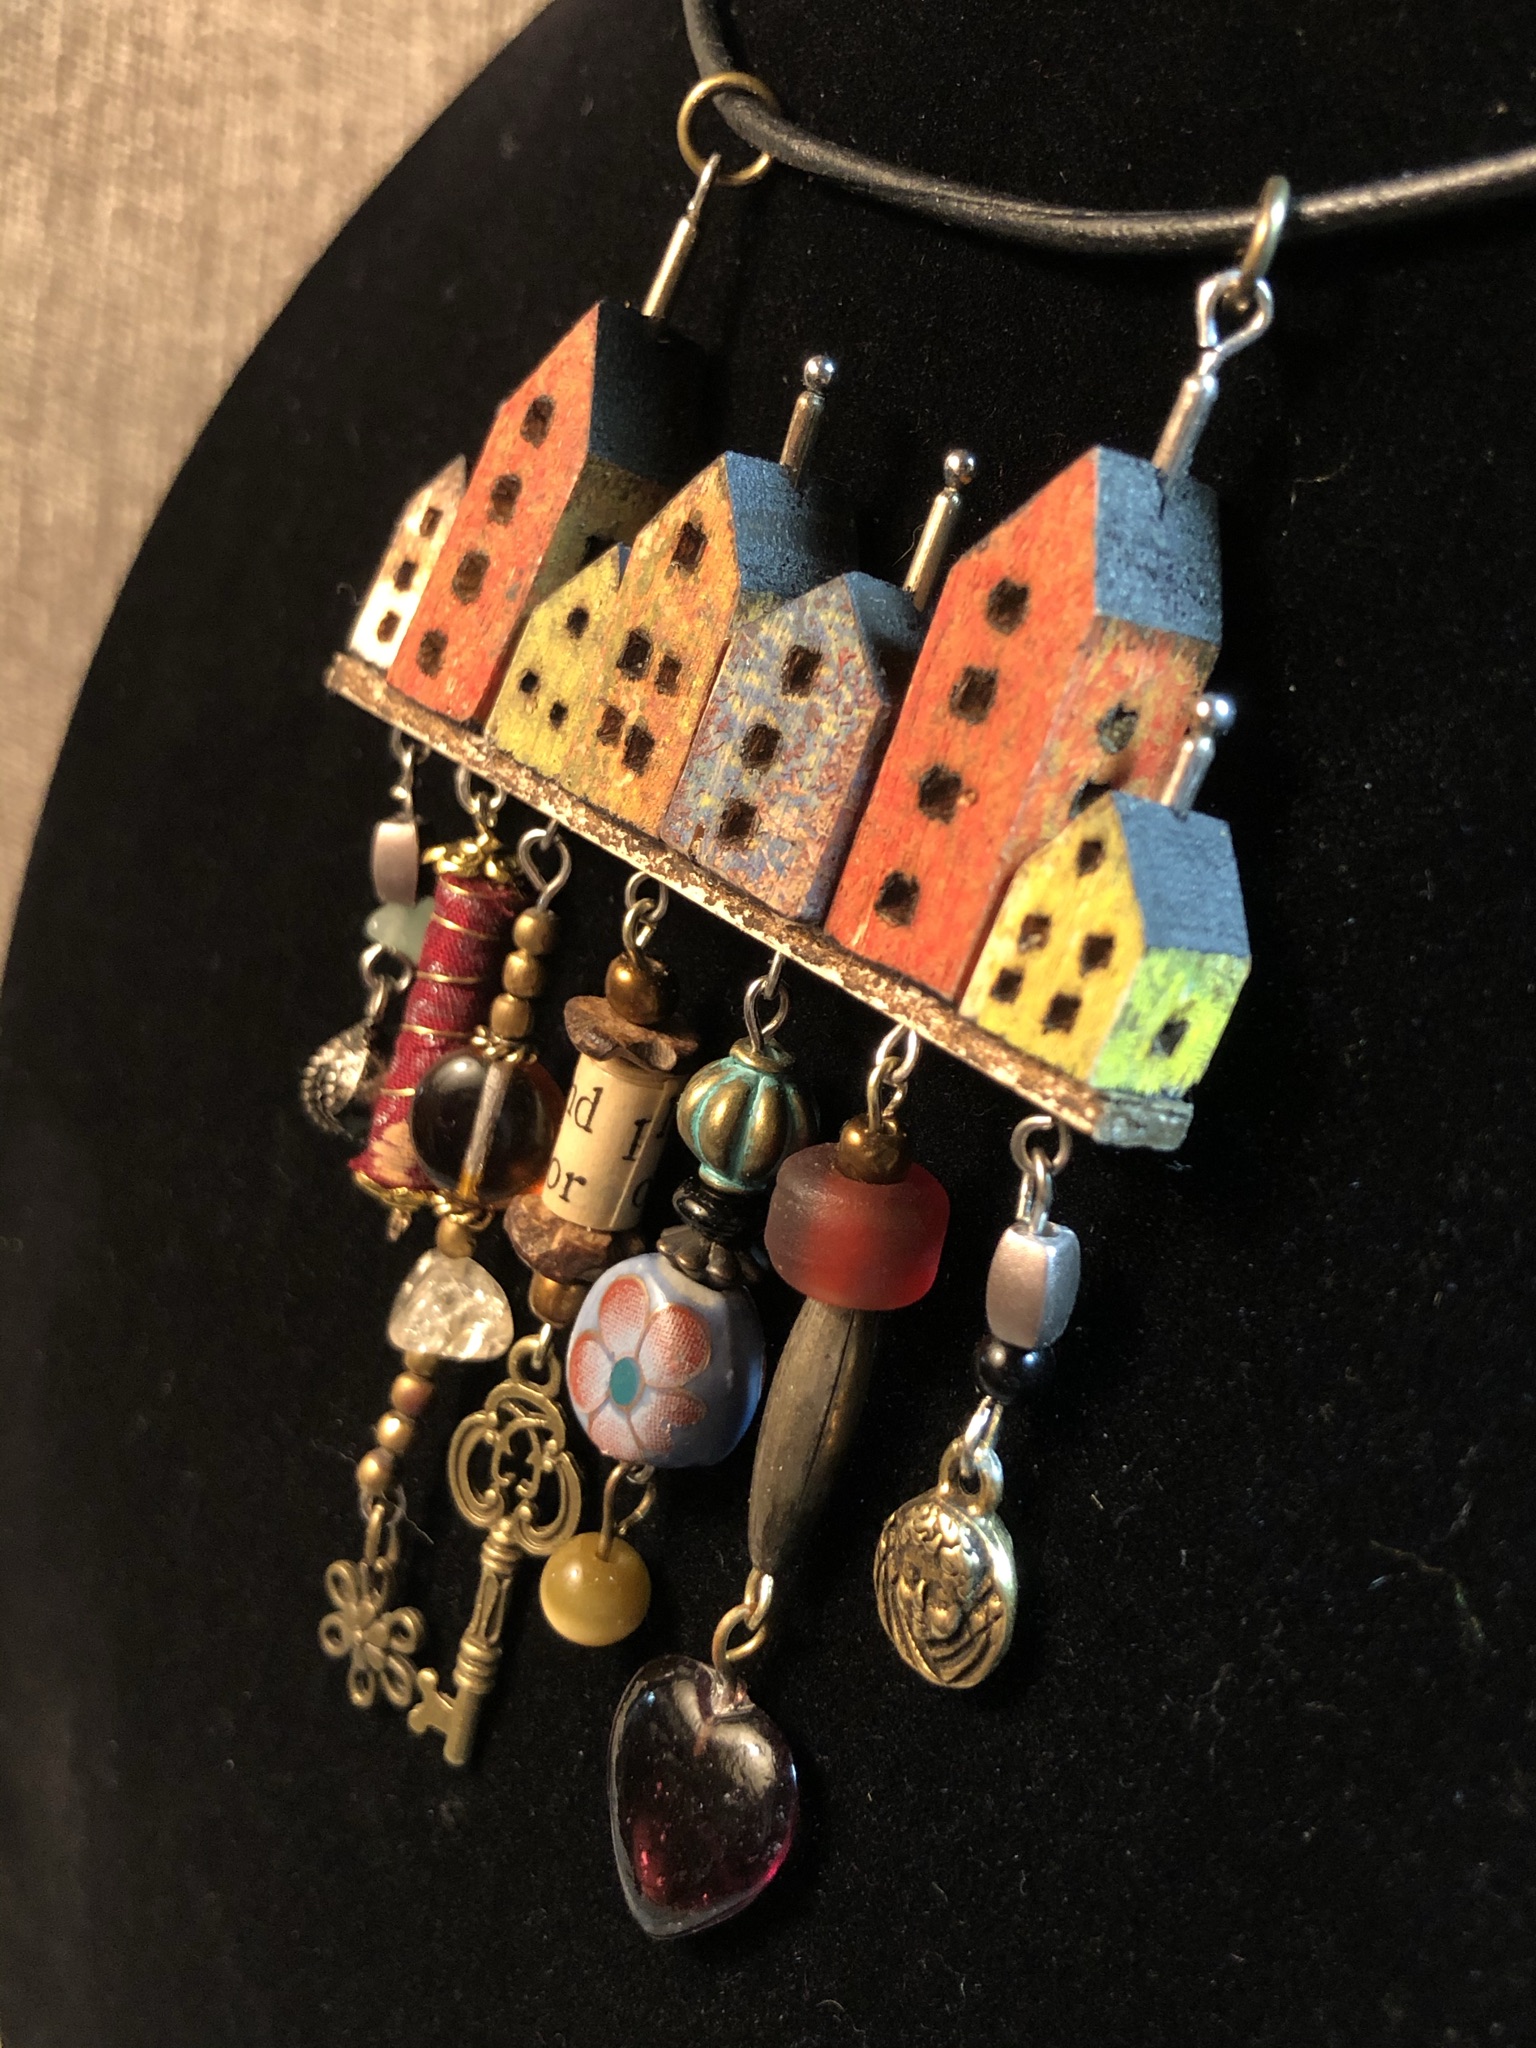
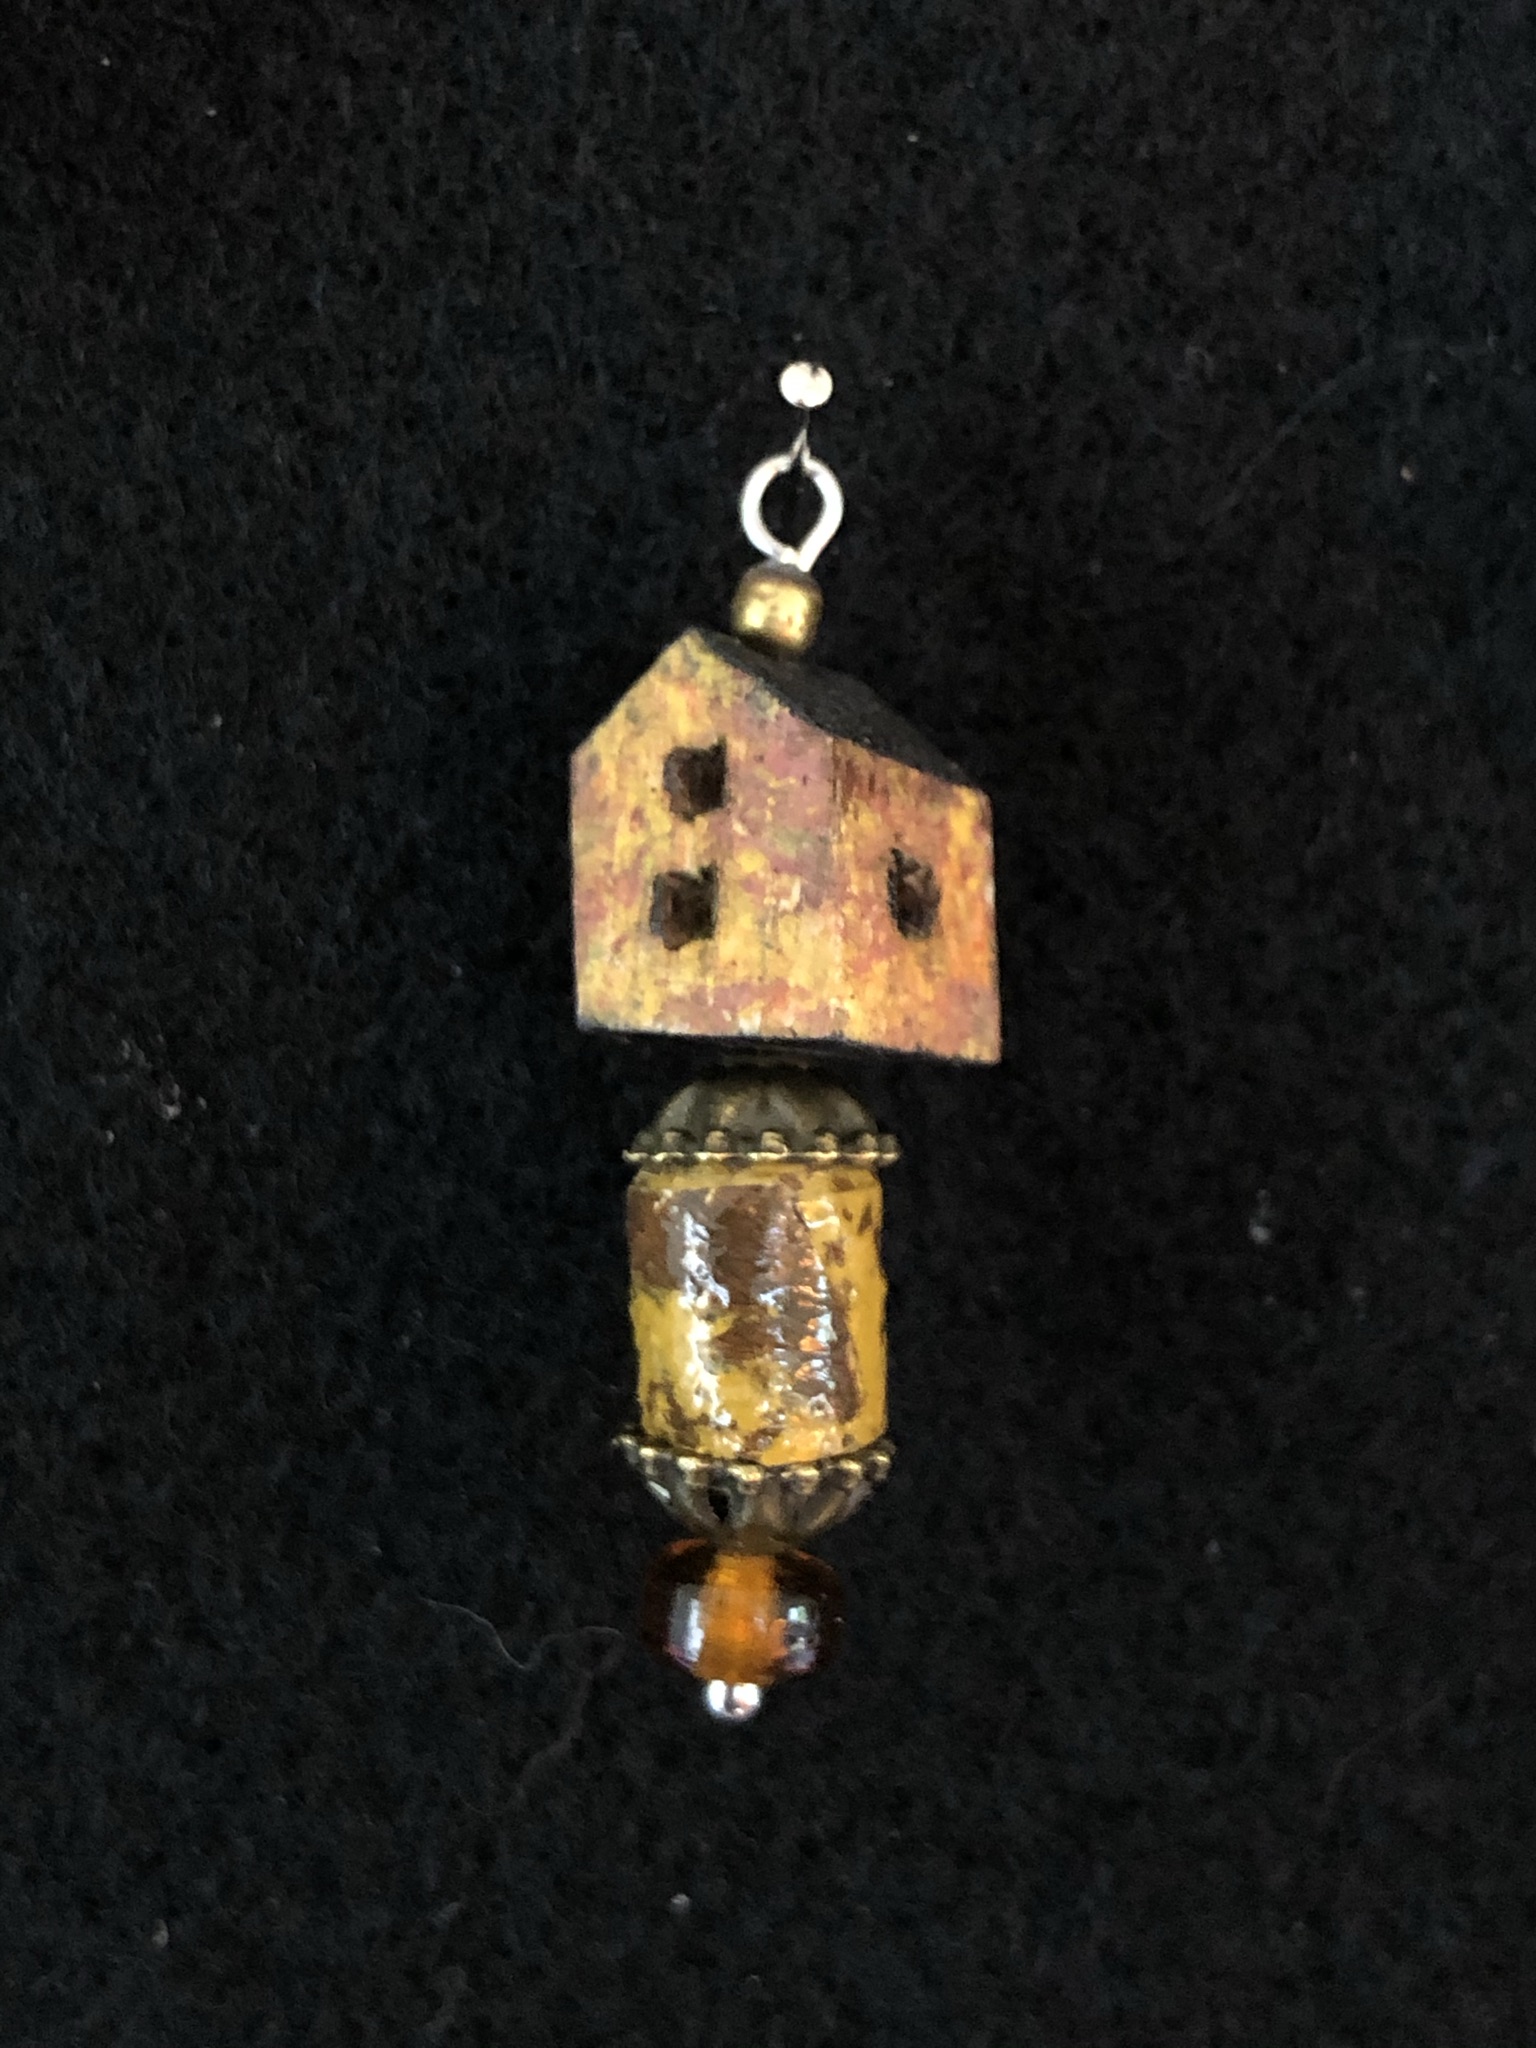
My gelatin printing stuff didn’t make the “essential” list, so when I started making more of my little wooden houses for my jewelry and wanted to gelli print them to get the cool weathered layered surfaces I love, I had to improvise.
I bought a bottle of glycerine in a drug store, and boxes of knox unflavored gelatin at the grocery store, and reduced the batch size of the homemade gelli print recipe here.
I make my own gelatin plates because a) I teach, and want to keep classes affordable and b) I can abuse them and then microwave and repour them in any shape I want and 3) I hate projects that start with “drop 60 bucks at a big chain craft store”.
So I melted the stuff in a pyrex measuring cup and poured it into a plastic magic wok carry out container (don’t judge me, fast food is fast.)
So I have some odds and ends of acrylics up here, but they are the tube kind real painters (like Jeff) use. I prefer the cheap bottle ones but these are fine if you give them time to dry before messing with them.
Gelli printing involves rolling paint onto this rubbery surface that feels very much like a sturdier jello jiggler, making patterns and layers in it, and then pressing paper (or whatever) onto it to pull a monoprint. I roll square wooden dowels across the surface and then turn those into little houses like this:
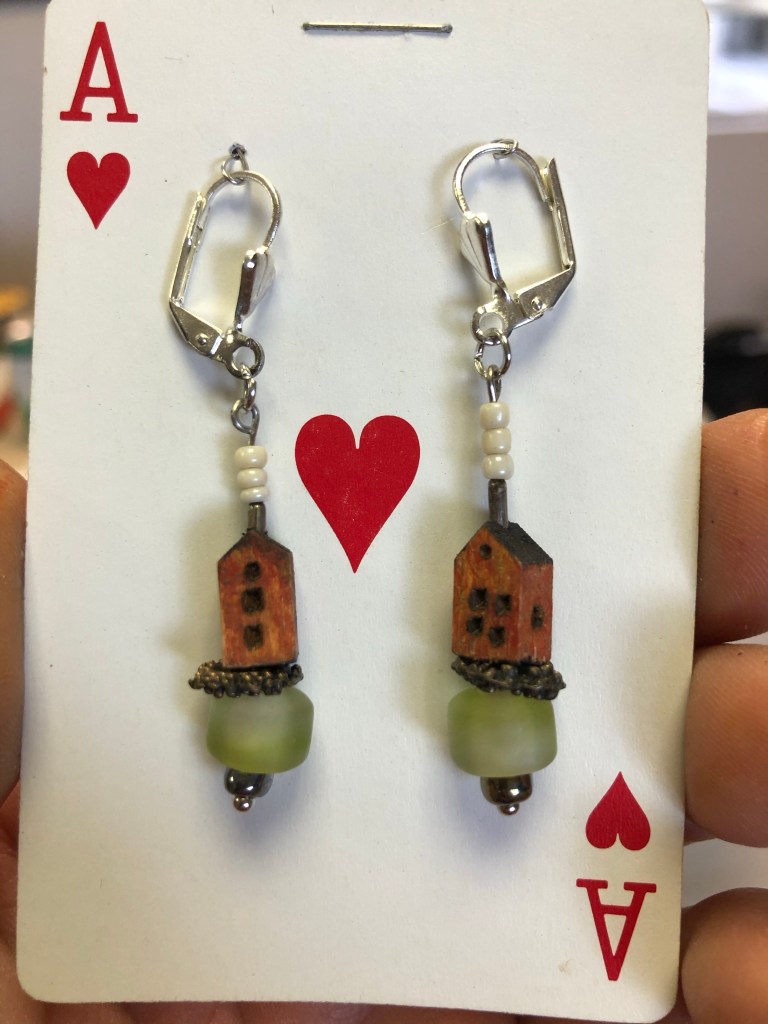
But while I was at it, I decided I should gelli print some paper to cut into strips for rolled paper beads that would match my houses (that’s maybe my next blog post) and also gelli print the backs of the playing cards I use to ship earrings because OMG some of those are super ugly.
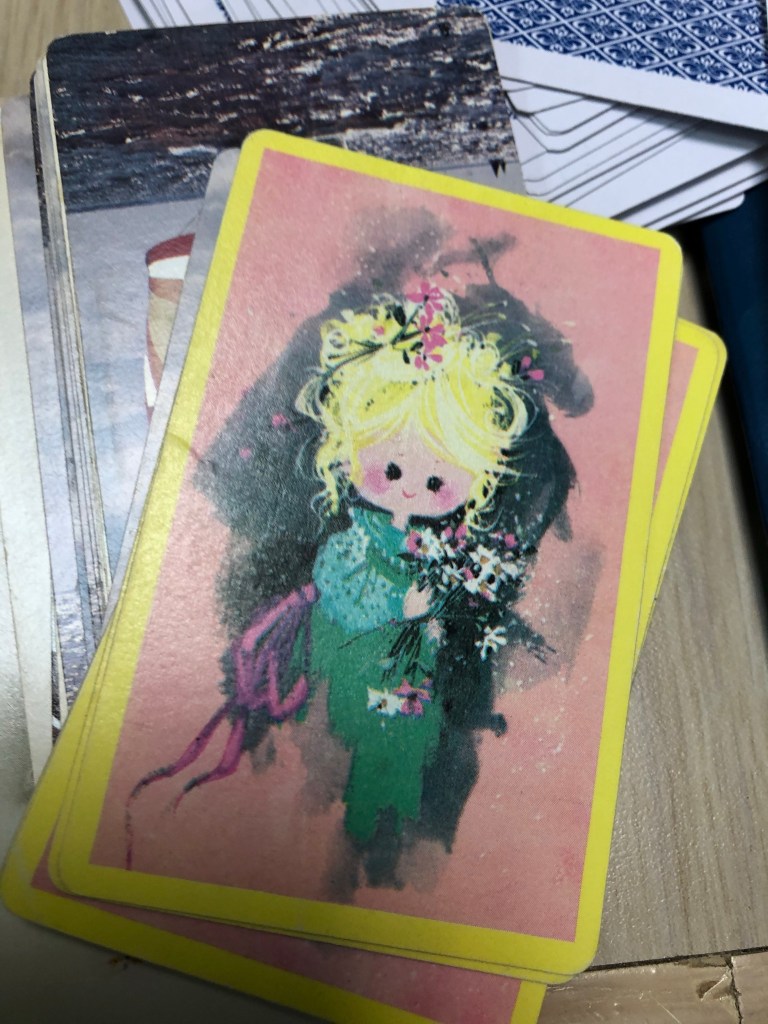
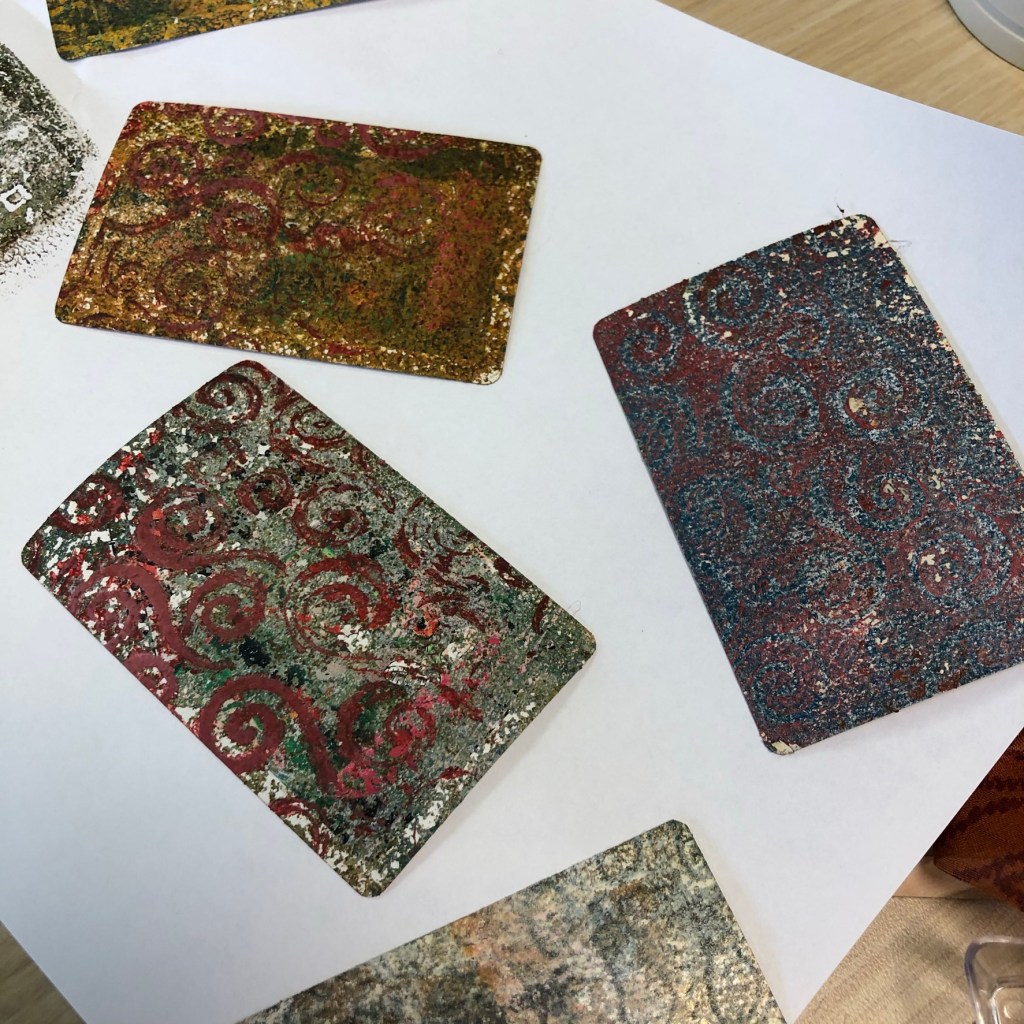
So the backs of these cards went from Eeeeww to Oooooooo.
Also the beads, which I will go into later, look like this:
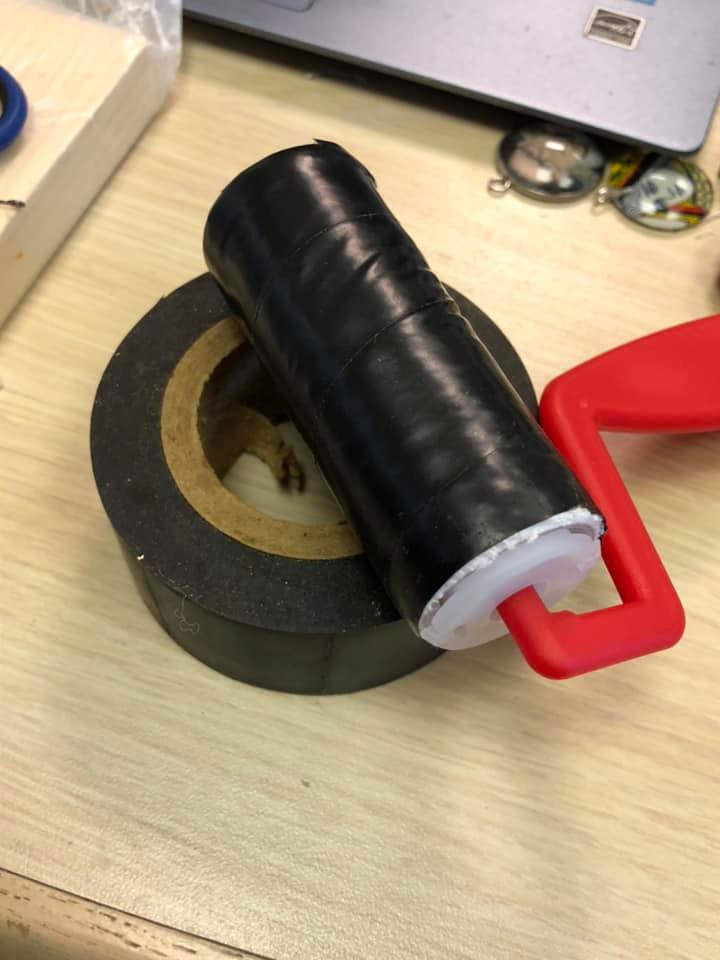
Of course, I didn’t have my brayers, and those are not cheap, but I had the little plastic fuzzy roller that comes in a paint roller kit for a buck from dollar tree. I wrapped it in some black electrical tape looking stuff I found in a junk drawer, like the stuff they wrap around hockey sticks, and it worked fine.
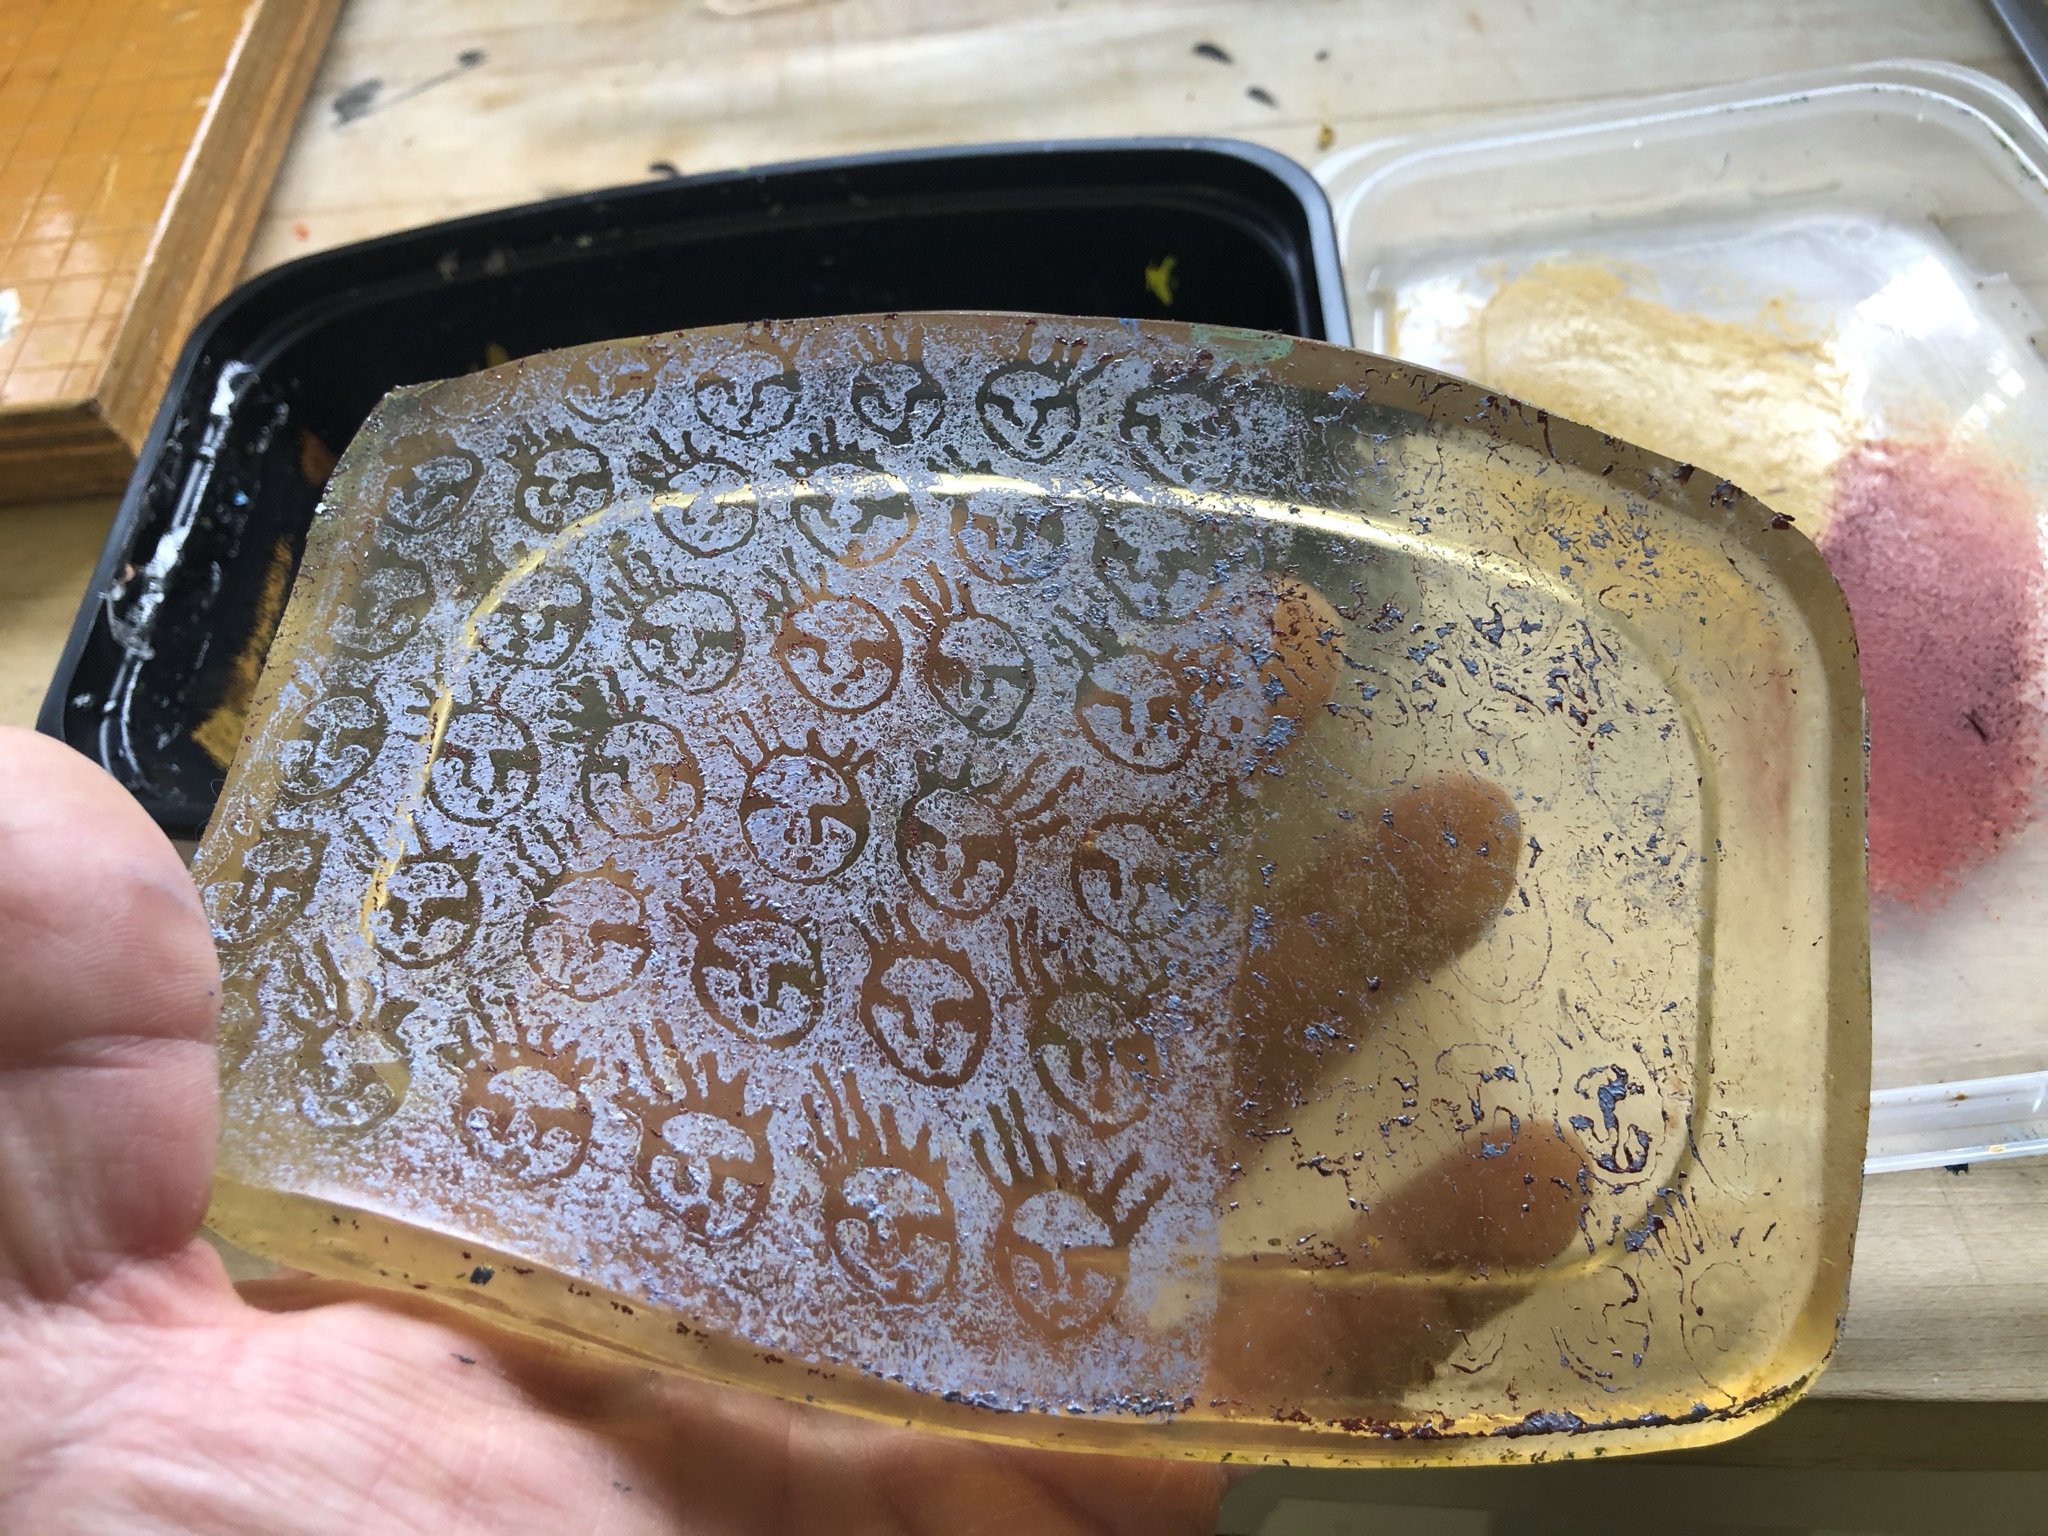
Also: if you can get your hands on thin styro, like meat or produce trays from the supermarket or the top of a styro egg carton, you can draw a design in it by pressing hard with a pen or pencil, and experiment with that while making prints. The little faces on the photo below were from a sheet of thin styro. I ordered some a long time ago and keep a few in my journal to doodle on when I am bored, ie: board meetings of any sort.

I have to throw one more thing in here, because I stayed up late last night listening to my audiobook and making gelli strip rolled paper beads. This morning I was painting them with clear nail polish one by one by one and suddenly had an idea. Check me out, lol:
So there’s my project for today. More later on rolled paper beads and anything else you ask for, just shoot me a note.
Here’s a link to my Etsy store, if you want to see the end results: https://www.etsy.com/shop/Primalpotter


Leave a comment