PART ONE: HOW TO MAKE AND BUY THE STUFF YOU NEED
The first thing to do if you want to explore a new medium, is go to a big box craft store and spend a hundred bucks on supplies. Then sign up for a class at the store, in which they will sell you more supplies. You may want to join an on line group where everyone has top of the line equipment, or watch an on line tutorial sponsored by a company that sells supplies.
Just kidding.
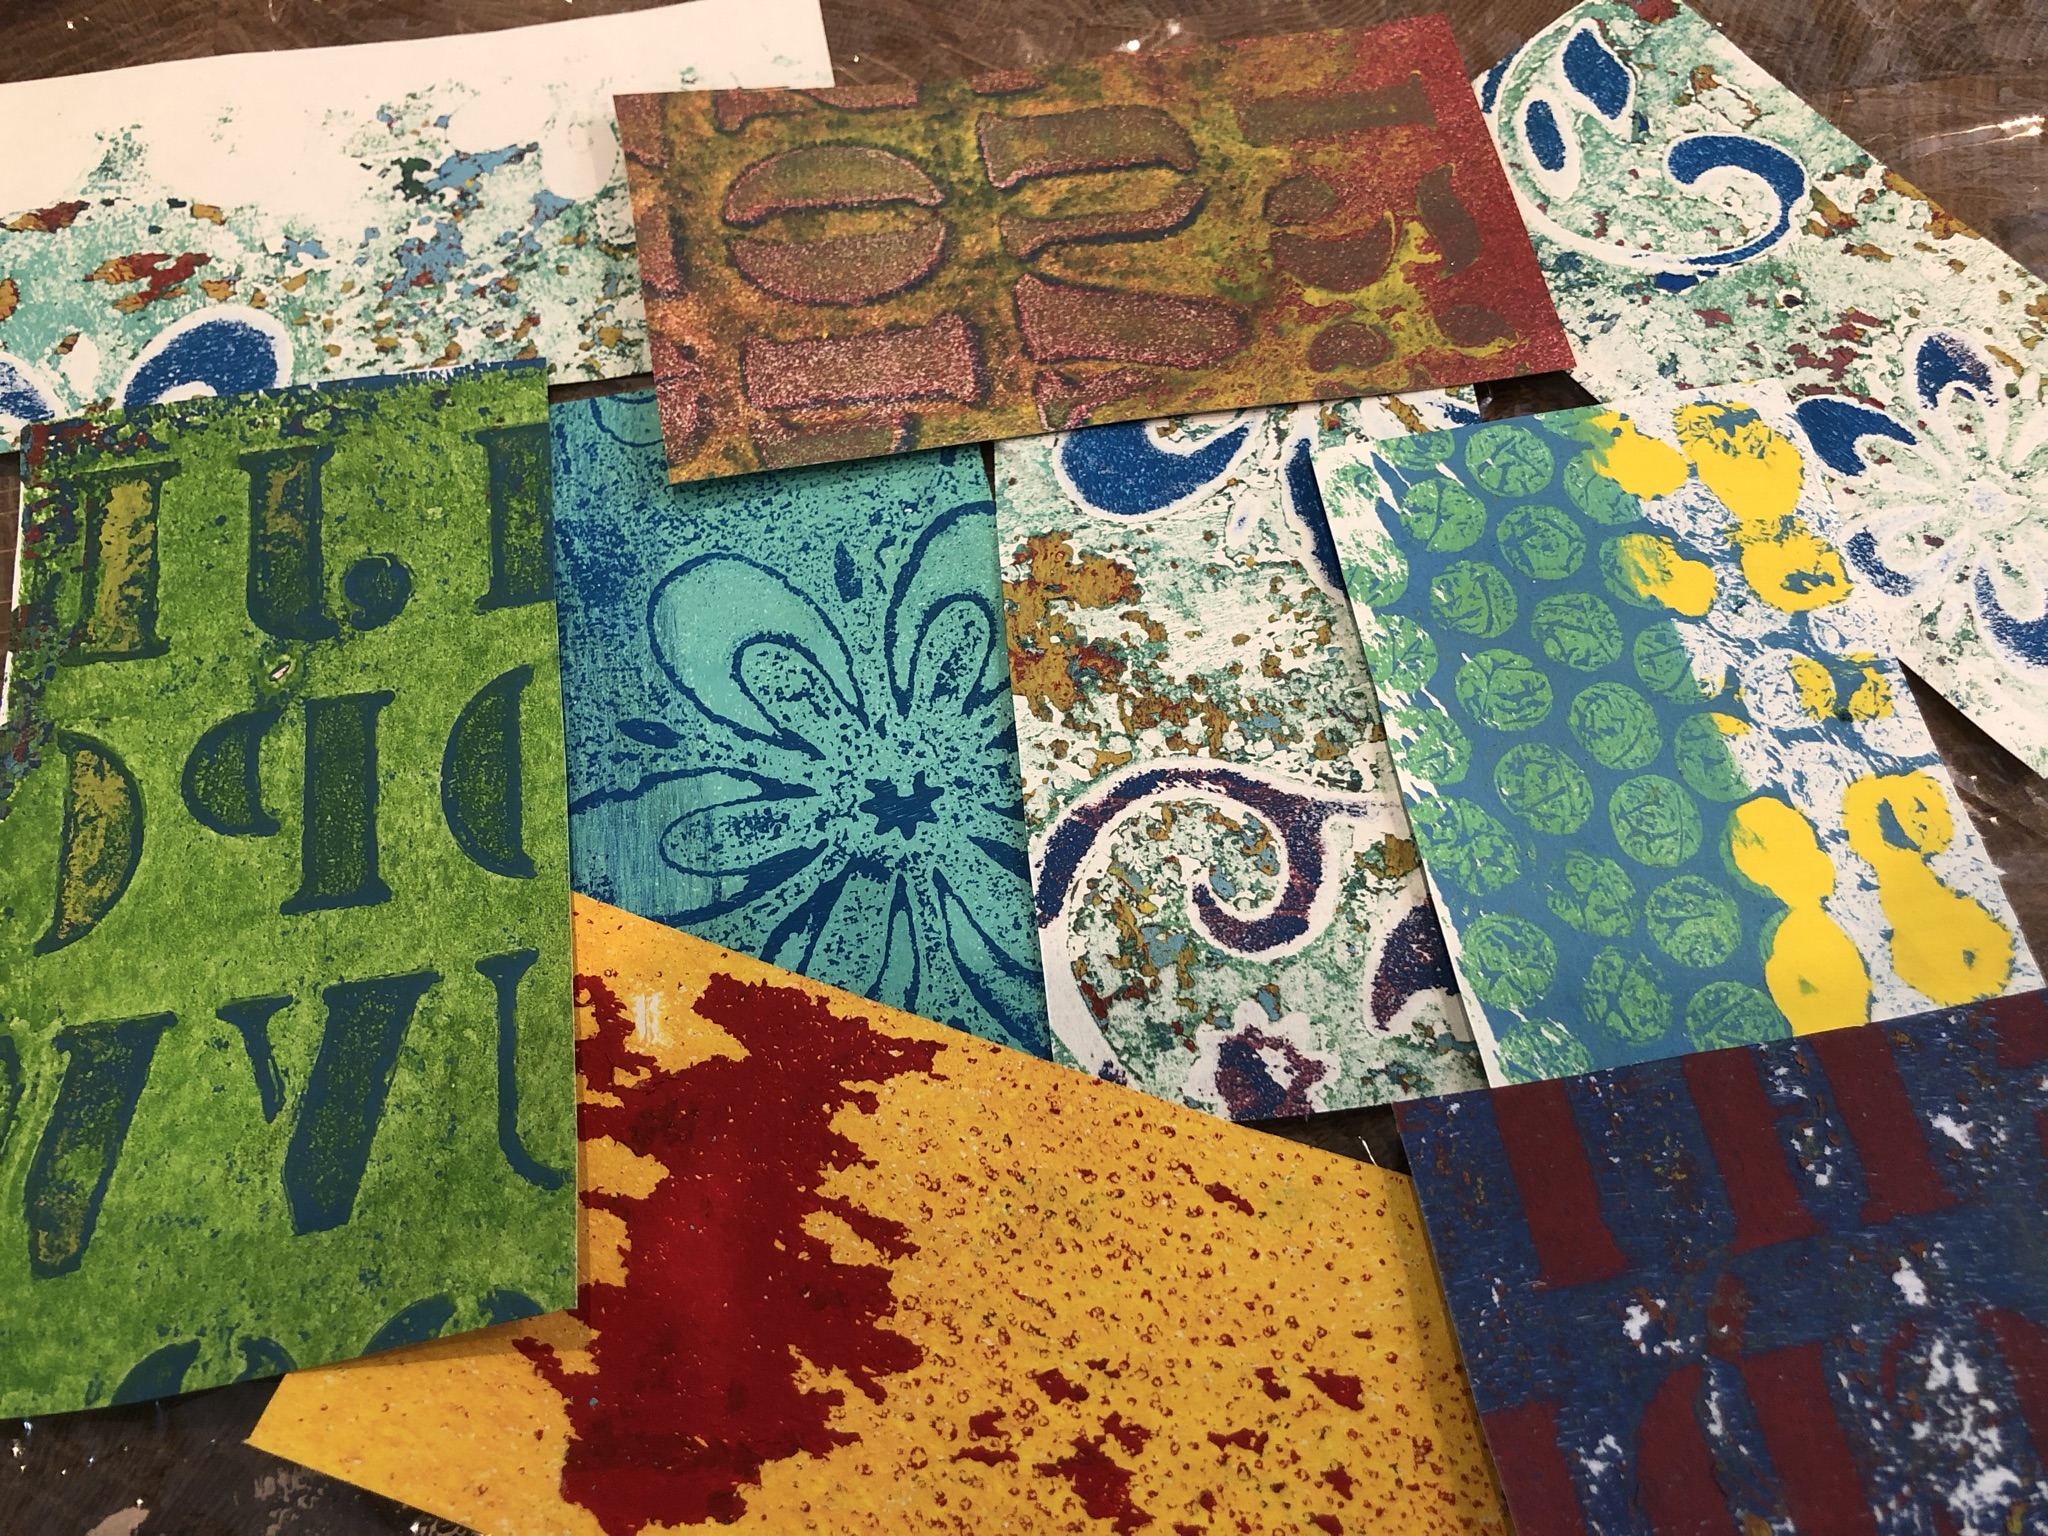
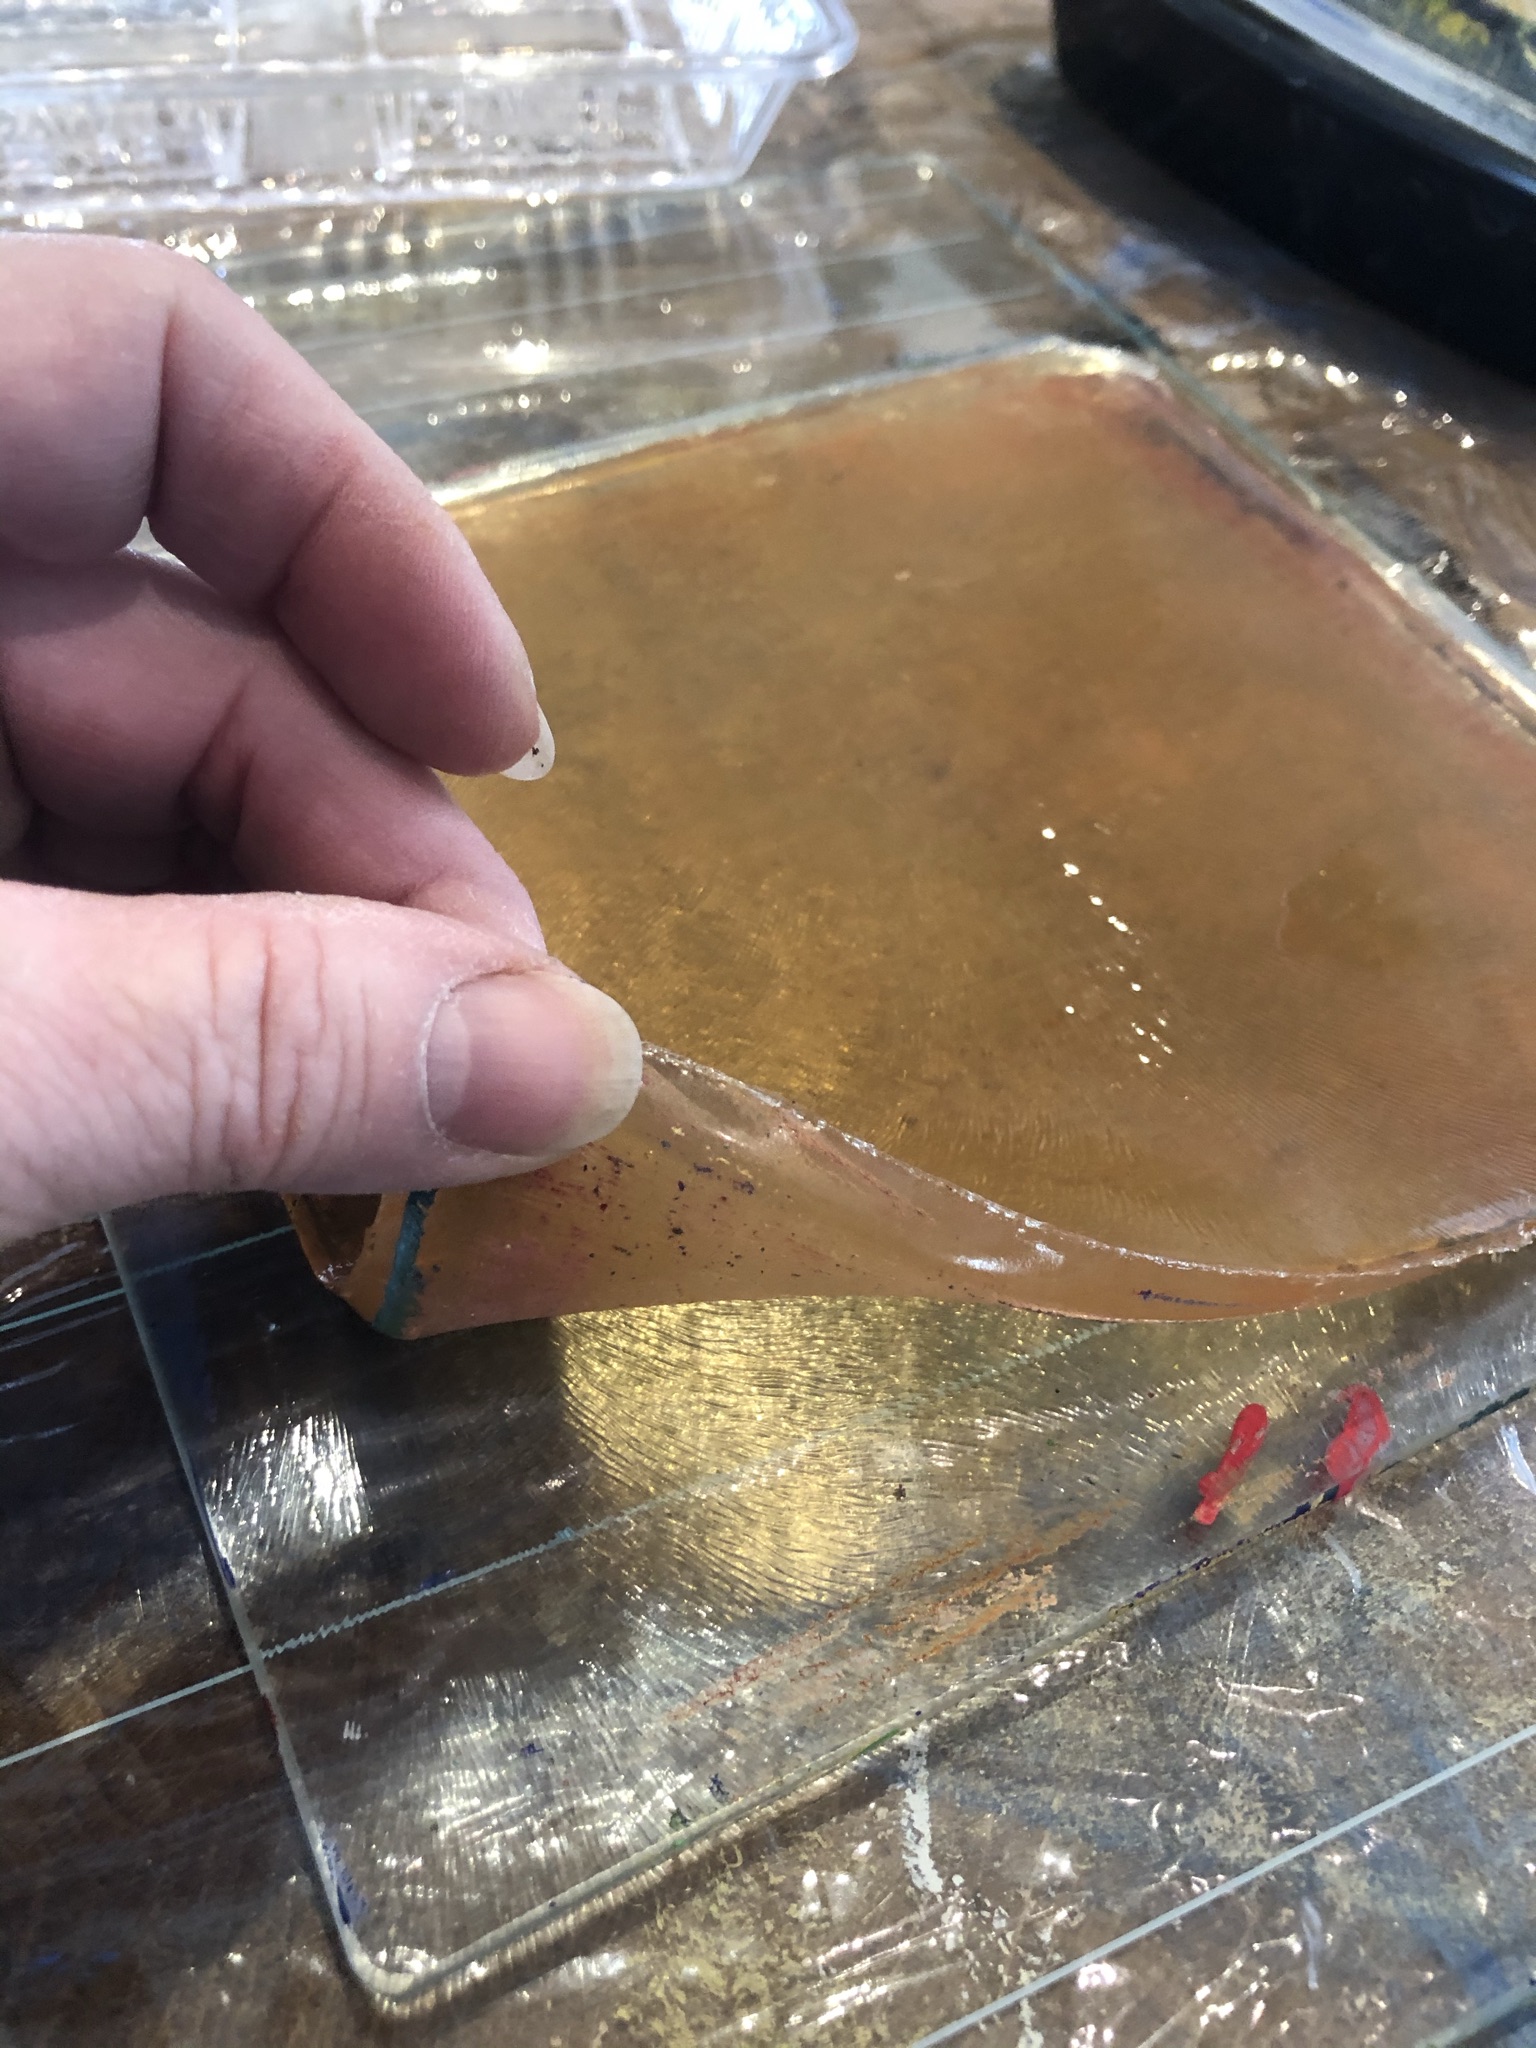
You can make yourself a gelatin plate, which is just a rubbery jello-jiggler type pad that you coat with layers of paint, and then rub a piece of paper on top and peel it up — making a print. It’s called a monoprint because you only get one print (unlike a linoleum block or wood block, which prints an image over and over.) So this is called “gelatin printing” or “Gelatin monoprinting.”
“Gelli” is a brand name and has the little copyright symbol attached. But when people talk about Gelli printing, it’s this.)
To make the gel plate, you need store brand powdered unflavored gelatin (pretty cheap) and glycerine. The glycerine is probably the most expensive part of this project, especially if you buy it at the pharmacy in a little bottle. I get mine on line, in quart sized containers. It lasts forever and goes a long way.
The recipe is here, in text form, about halfway down the page. Credit where credit is due: this is the best recipe I have found. Glycerine, gelatin and water. I do mine in the microwave. Tools cleanup easily with soap and warm water.
(Some recipes add tea tree oil, alcohol, or other weird ingredients to keep plates from spoiling(?) or something? but mine sit stacked in a cupboard for months and years and never go bad. I don’t put it in the fridge with food and stuff, and I have never had problems.)
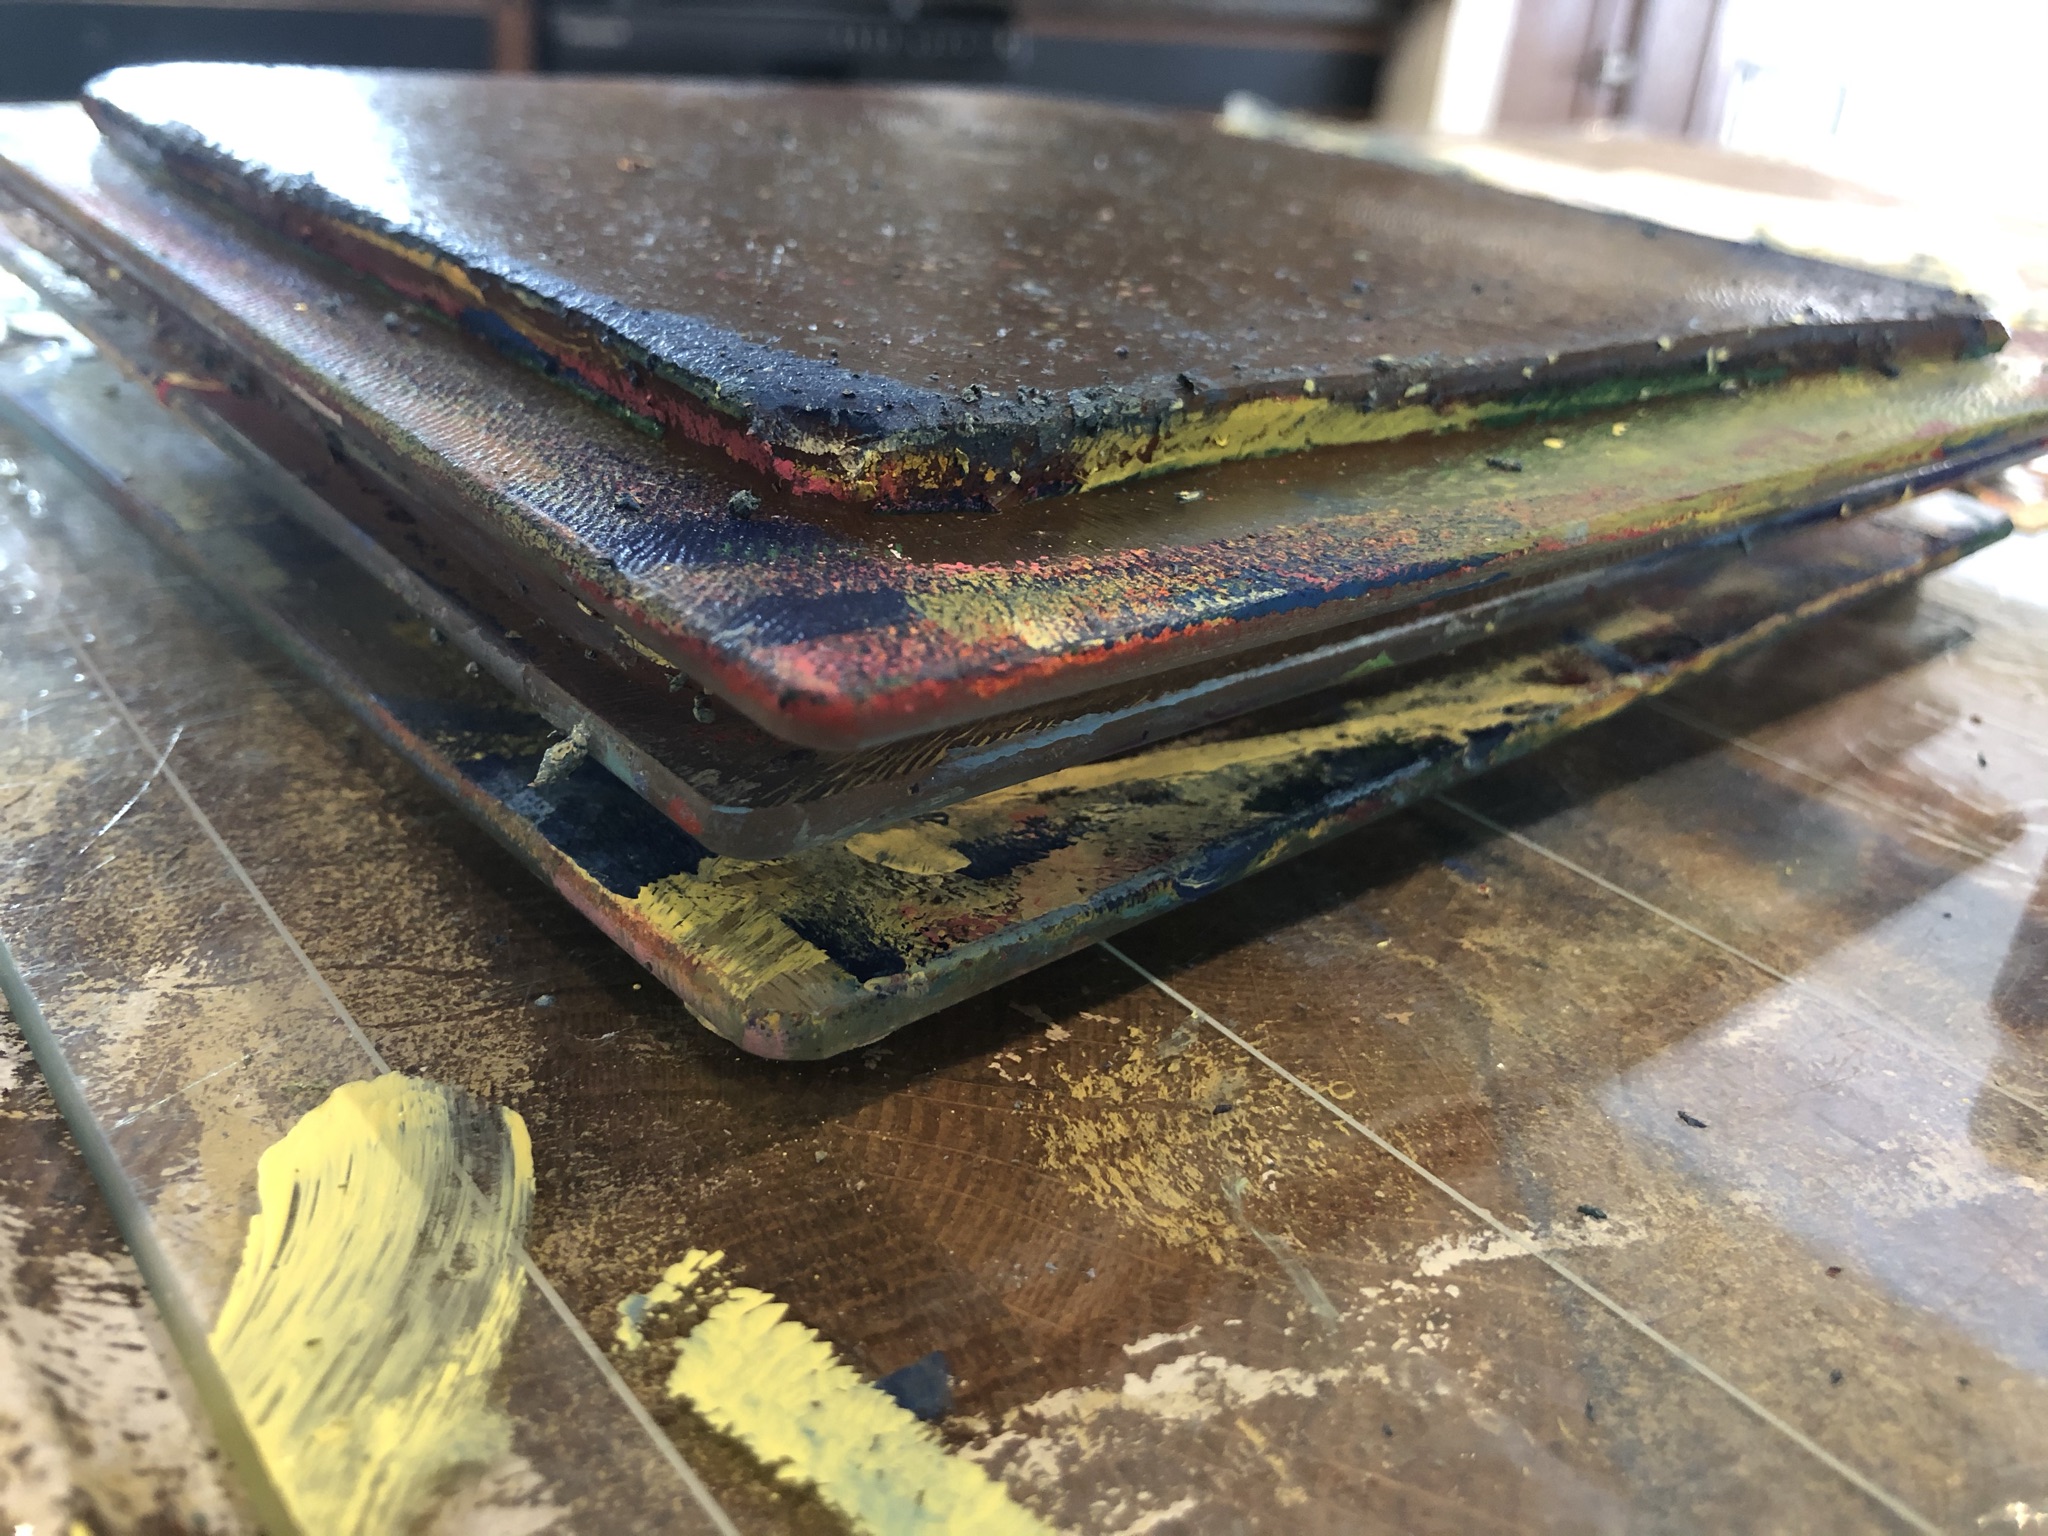
Store bought gel plates are a little different. They are expensive, stiffer and more permanent, and paint dries more quickly on their surface. I have one, but prefer the homemade ones, because I can make them all different shapes and sizes. When they get raggedy, I can melt them down and repour in a new shape and size.
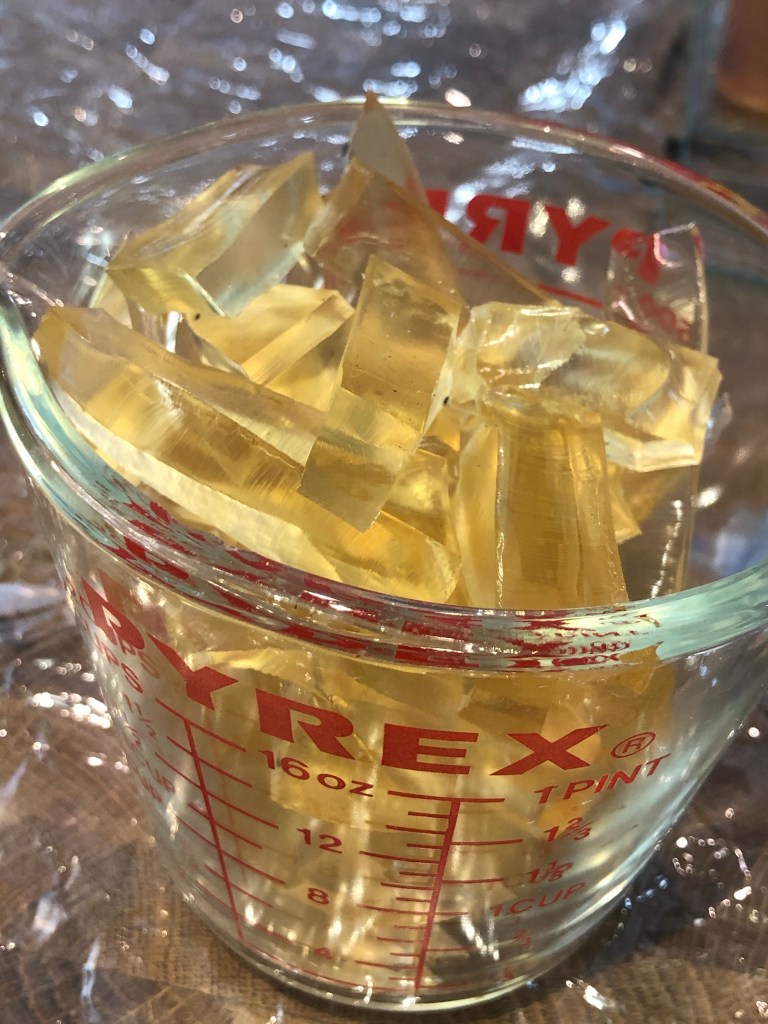
Cut up old or damaged plates with scissors and microwave until liquid (2 minutes?)
Sometimes I pour through a strainer if there are bits of paint in the mix.
OK: printing supplies, on the cheap. When I need to make enough plates to teach a class, I go to the dollar store and get flat metal 8X8 pans for a buck each. Then I go to the aisle with cheap picture frames and ugly art, and spend another dollar (throw away the art, keep the pane of glass. Tape the edges with duct tape.) I pour the gel plate in the pan, put the glass on top, and everybody has a plate, a glass to put it on when printing, and a way to store it. (Students in my class take their plates home to keep.)
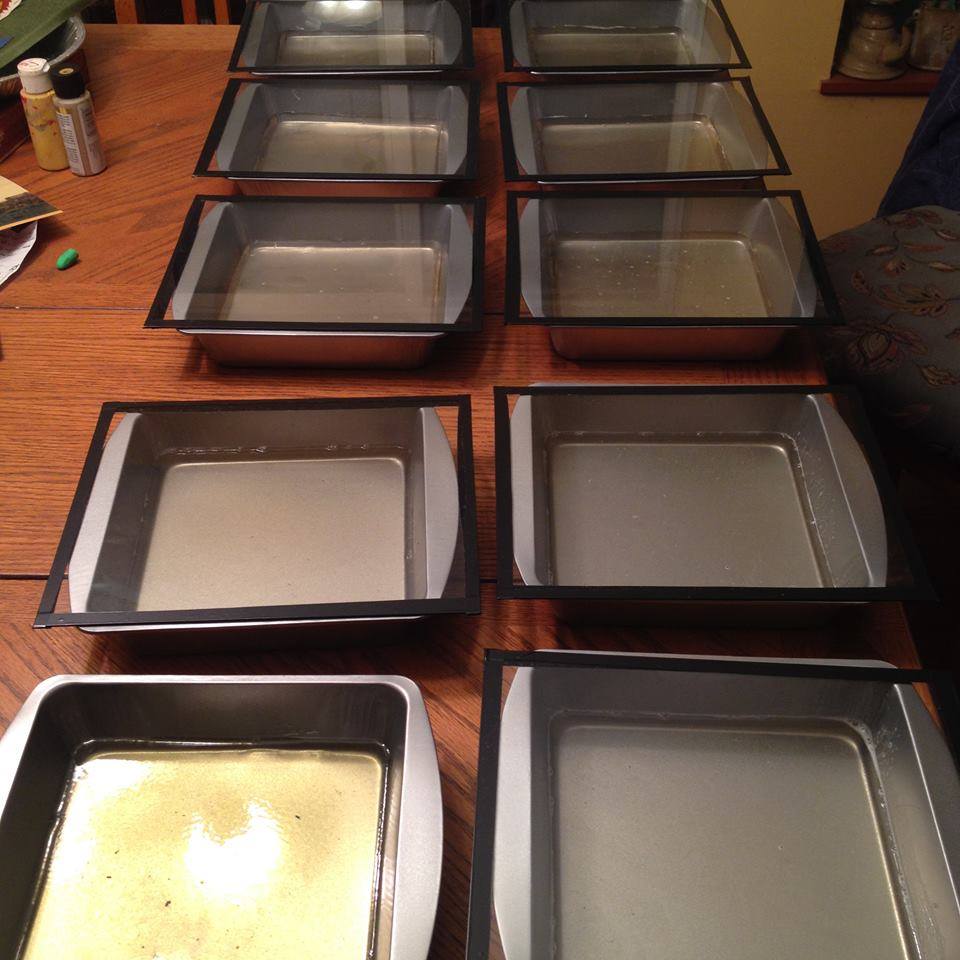
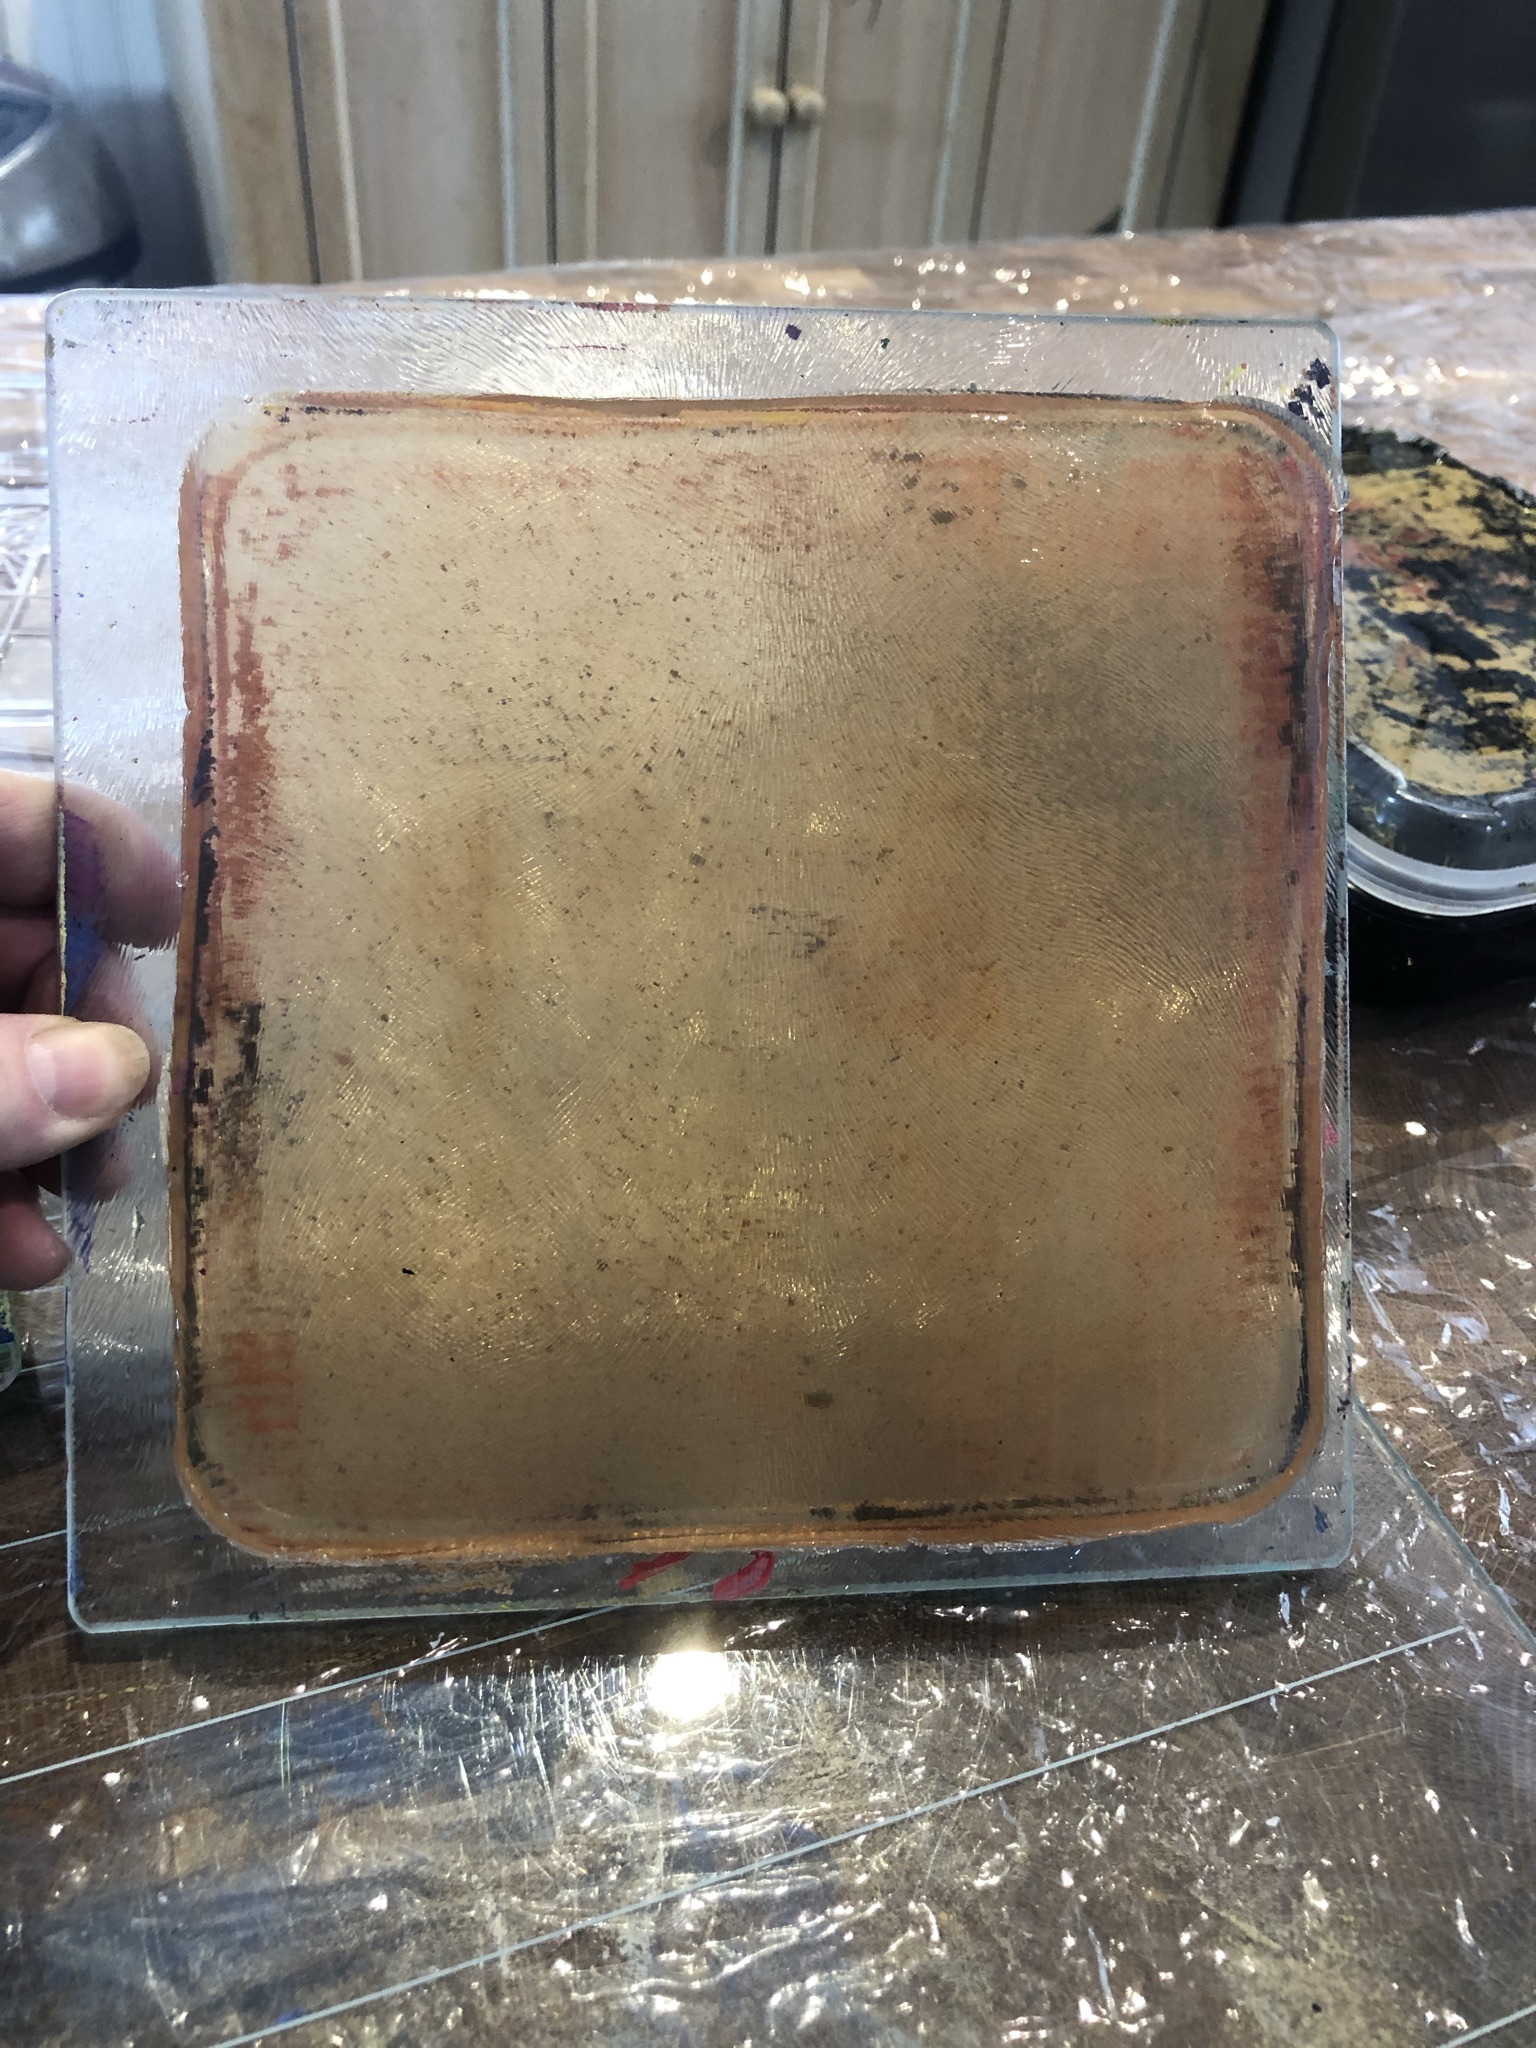
(Better yet: you can sometimes find a little square glass cutting board at a dollar store, just the size of the brownie pan. I use these to stack and store my plate because they are sturdy and don’t crack. They have a slight texture which ends up on the gel plate but it doesn’t seem to change the printing. Either way, you’ve now spent two bucks per student.)
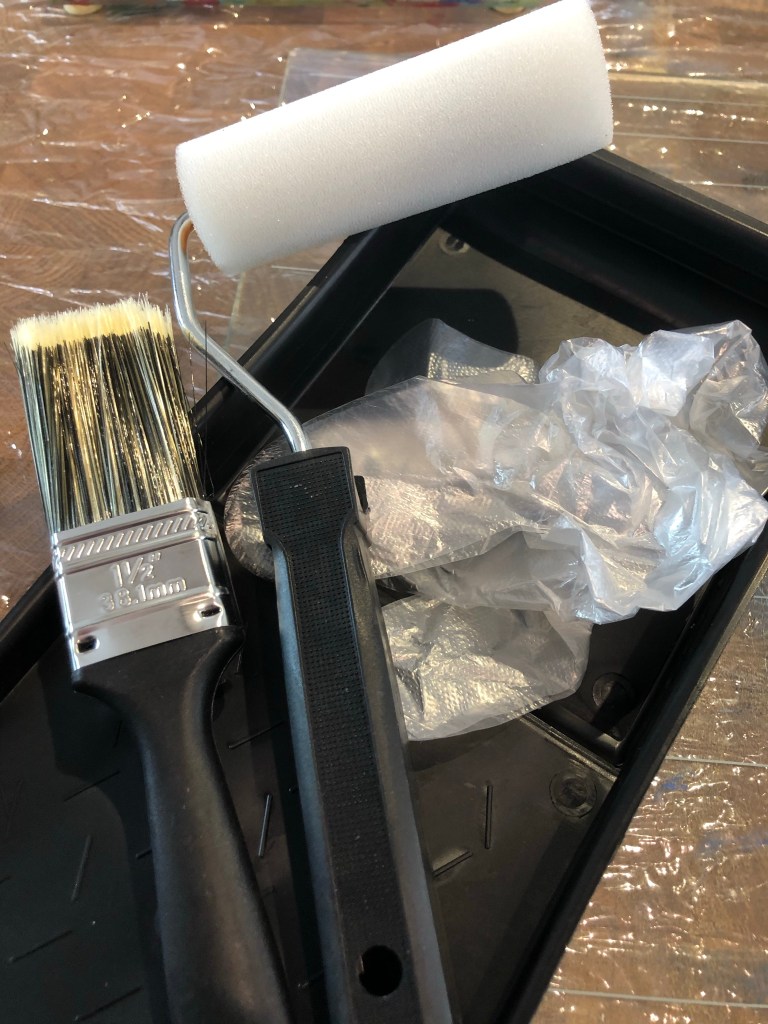
Brayers (the little paint rollers) can be expensive, but there’s a work around here, too. I’ve taught classes using the small foam rollers that come in the super cheesy dollar store paint kits. (Cut off the long end so they are just the length of the stick inside.) They soak up a lot of paint but actually distribute it quite well, avoiding the too much/not enough paint problems common with first timers. If you prefer a more traditional brayer surface, I have discovered that black electrical tape (another buck) wrapped around the foam brayer makes a workable substitute. (Do try the foam ones, though – I have become fond of them, and even buy the pink foam curlers (another buck) to slide onto the paint roller handle as a replacement roller.)

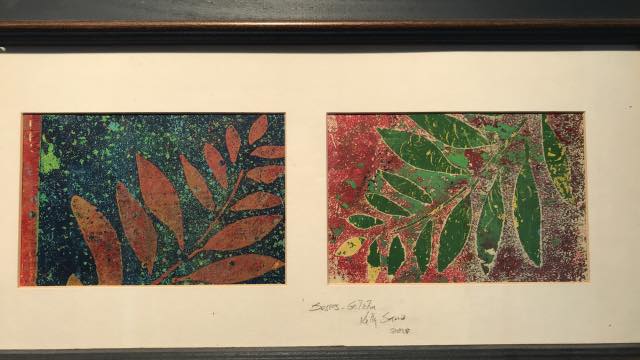
Stencils and textures: There are a lot of affordable, thin plastic stencils that can be purchased for printing, and I use them for teaching because they are fun and rewarding and quick and easy. For myself, I prefer less commercial patterns in found objects. You can gather up bubble wrap, the corrugated edges of a cardboard box or coffee cup sleeve, bumpy textured drawer liners or textured craft foam, leaves, feathers, roughly woven fabrics, bits of yarn. You can cut your own shapes out of paper or foam, using both the shapes and the piece you cut it from.
Paper: I print on everything. Copy paper, cheap manila from kids scribble pads, the backs of printed material I don’t need anymore, parchment paper, muslin fabric scraps, anything. Is it archival quality? Nope, but who needs that kind of pressure? If somehow one of my prints is auctioned at Sotheby’s one day, I guess that would matter, but my goal is to make a million prints and learn something from the process and maybe one in 20 will be nice to look at later. Make, fail, make, fail, make. Different papers pick up paint in different ways. Try not to get too precious about the end results.
Wipes: Dollar store diaper wipe refill packs work great for gently wiping plates (I don’t clean in between prints, as I like the layers) and wiping fingers. (You can also get rubber gloves, if you’re that sort). If I use stencils, I layer them between wet wipes before the paint hardens completely.
PART TWO: GETTING STARTED!

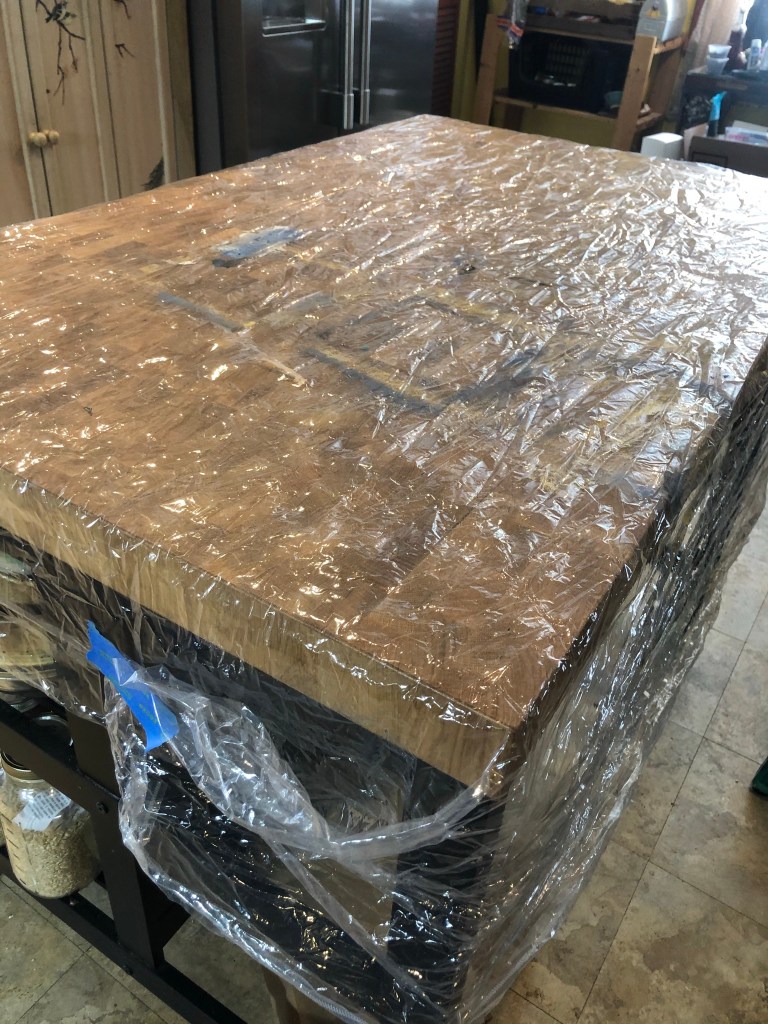
We are snowed and and I can’t make it to my studio, so I pulled out the (dollar store) shower curtain liner I keep wadded in my printing supply box and draped it over the kitchen island. I have some glass shelves from a dead refrigerator that I use for a paint surface. Trash bags, opened cardboard boxes, pizza box, whatever you have will work just fine.
Paints: Serious artists use Golden Open and other high quality, strong pigment acrylics. But if you’re here reading this, you are probably not an serious gelatin printing artist yet : )
Considering the tens of dollars I have made selling my gelatin printed work, I also do not consider myself a serious artist. More importantly, I am really open to the unpredictability of this process. When I spend too much time thinking, planning and trying to predict results, it goes badly. I discovered my favorite prints are sometimes the edges of things, the accidents and over-prints, even the page I use to clean my rollers, lol.
So I go for quantity over quality: make prints, make more prints, print over the boring ones. And I use every kind of acrylic paint I can get my hands on, because they all do something different. In the pic above, you see cheap bottles of acrylics from walmart, stuff on sale at craft stores, a light blue that froze in my car, a yellow that was mixed with an almost-empty different yellow, and a little row of dollar tree acrylic pots (more goo than color). Too thick, too thin, mixed together, lumpy. All good with me.
Painting the plate
The hard thing to figure out at first is that your print will not reflect what you see from your side, but rather what is directly touching the gel plate. In other words: I could take a brush and paint blue stripes on this red plate, but when I took a print, the blue would not show up, as only the red paint is touching the plate. When it doubt, lift the plate and look through the glass and see what shows up from the back.
Removing paint
Second layer
Make some plain, boring prints at first just to get the hang of how the layers work. Some people learn best by doing. Paint some one color coats on your plate and try removing paint with bubble wrap, strips of torn paper, or stencils used as a mask.
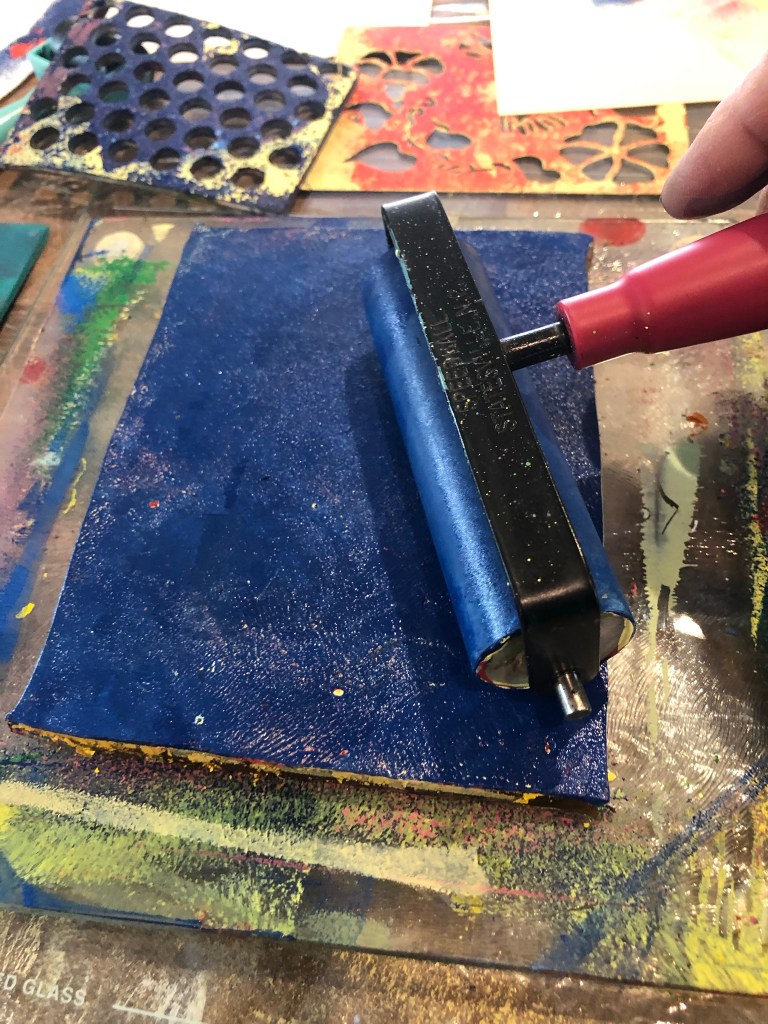
Solid blue. (solid-ish. I only clean my roller between colors by rolling it on scrap paper.) 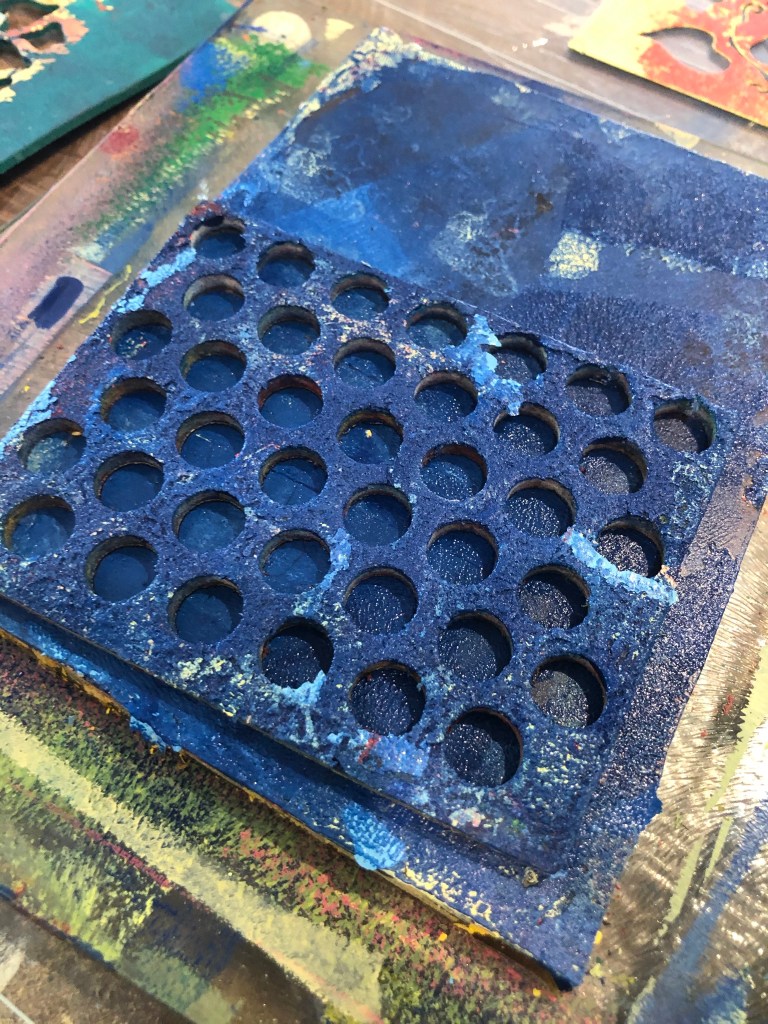
This is the piece left over from some foam sticky-dots. It has several coats of dried paint from previous use. I press it onto the blue painted gel plate… 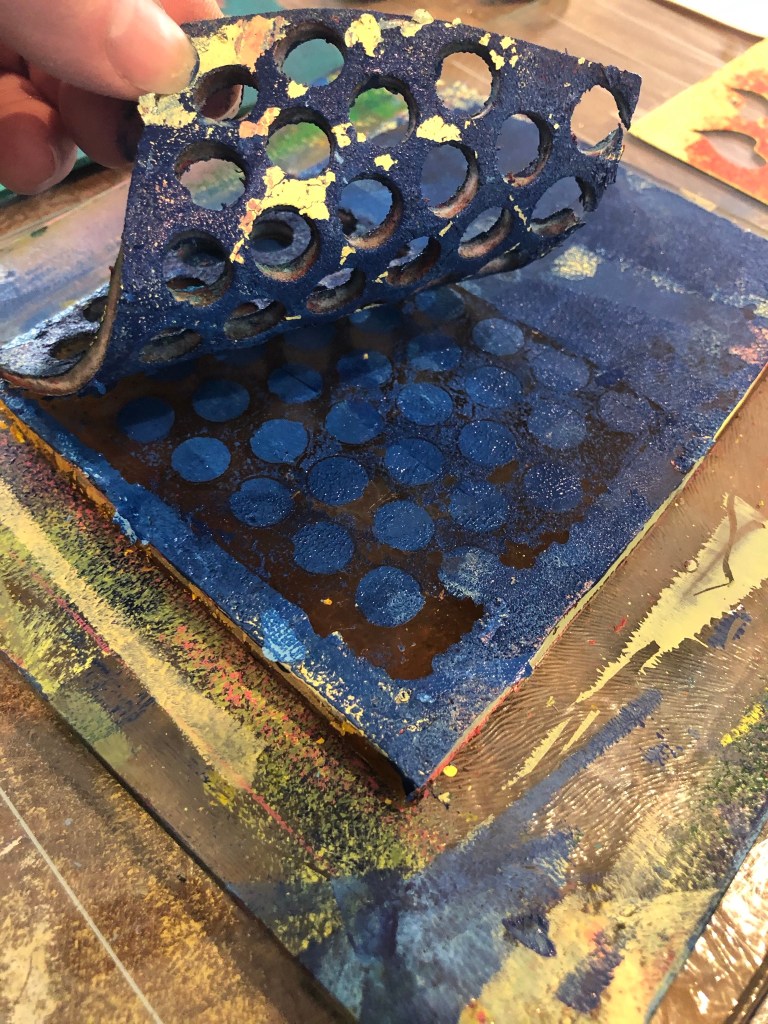
and when I lift it, it removes all but these blue polka dots. 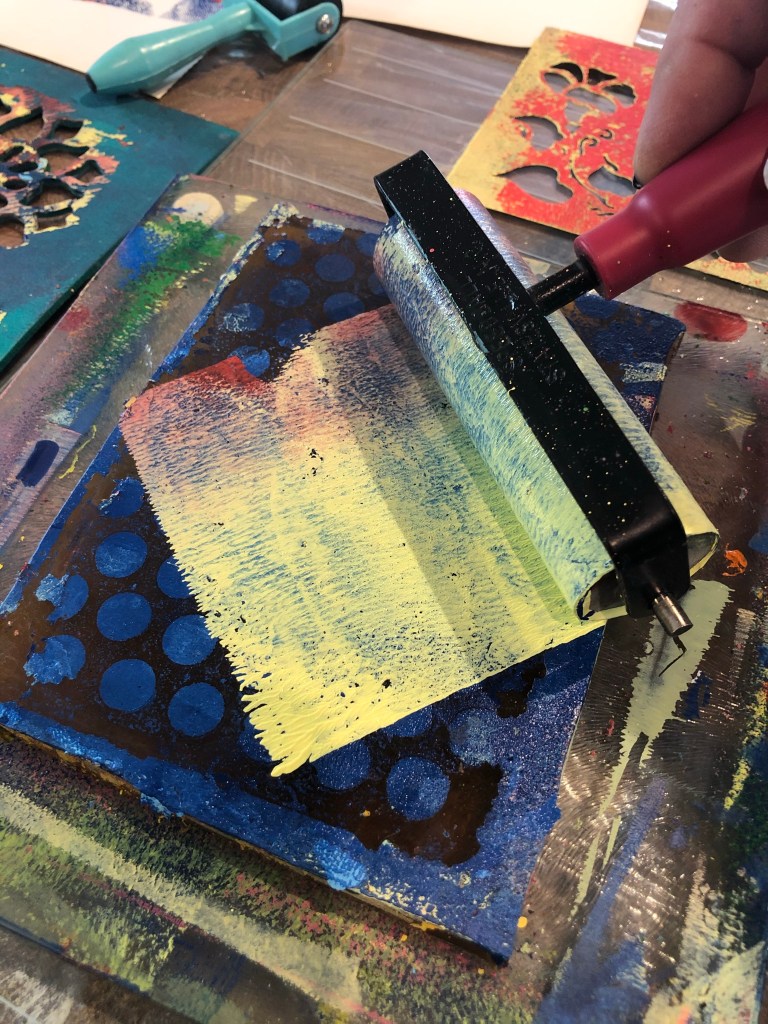
This next layer will touch the plate in the “window” i just made around the polka dots. From my side they look hidden, but when I pull a print, it will be dark blue dots on a yellow background. Get it? No? just try it, you’ll see.
EXPERIMENT! It’s all a learning process. In my studio I string a cord from one end of the room to the other, and hang print after print on clotheslines to dry. The boring or fuzzy ones, I may go get later and print on top of them.
Repeat after me: it’s only a piece of paper. I am not being graded on this. You can always print on the back, or over the top. If one in ten is interesting, then make 100. It’s only a piece of paper.
Here are some things I tried this morning: using the leftover paper from the heart stencil, using bubble wrap, torn strips laid on top of the paint, using a commercial stencil as a “mask” to print on a boring thing.
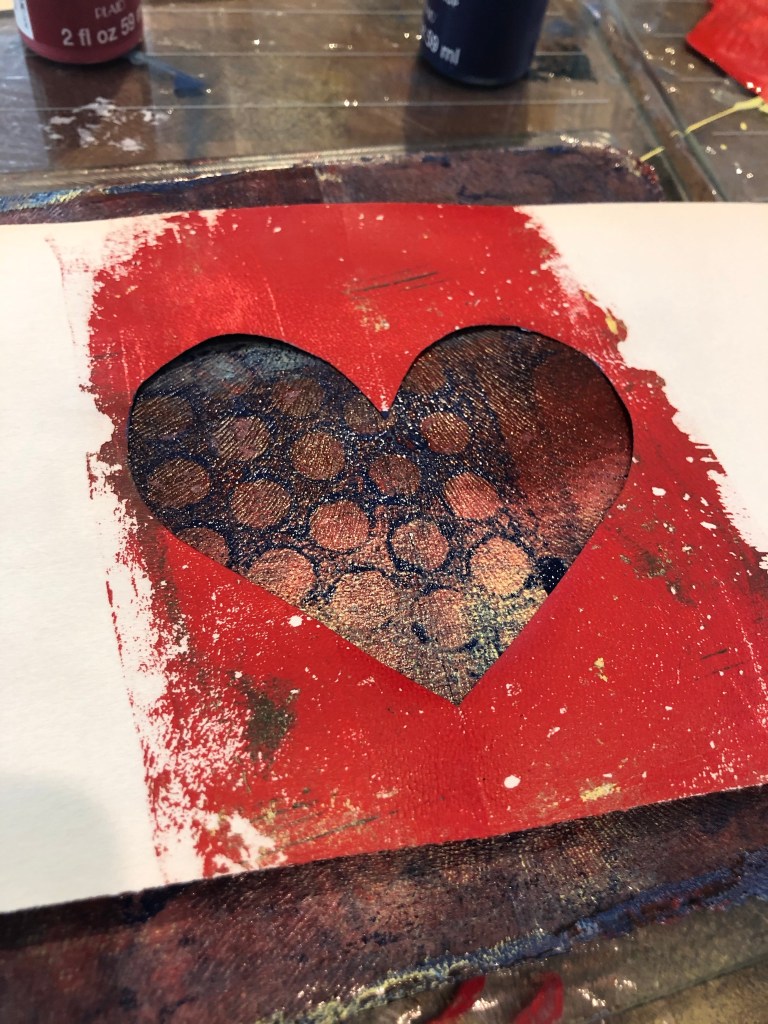
Paper with a heart cutout laid on top of an interesting layered plate… 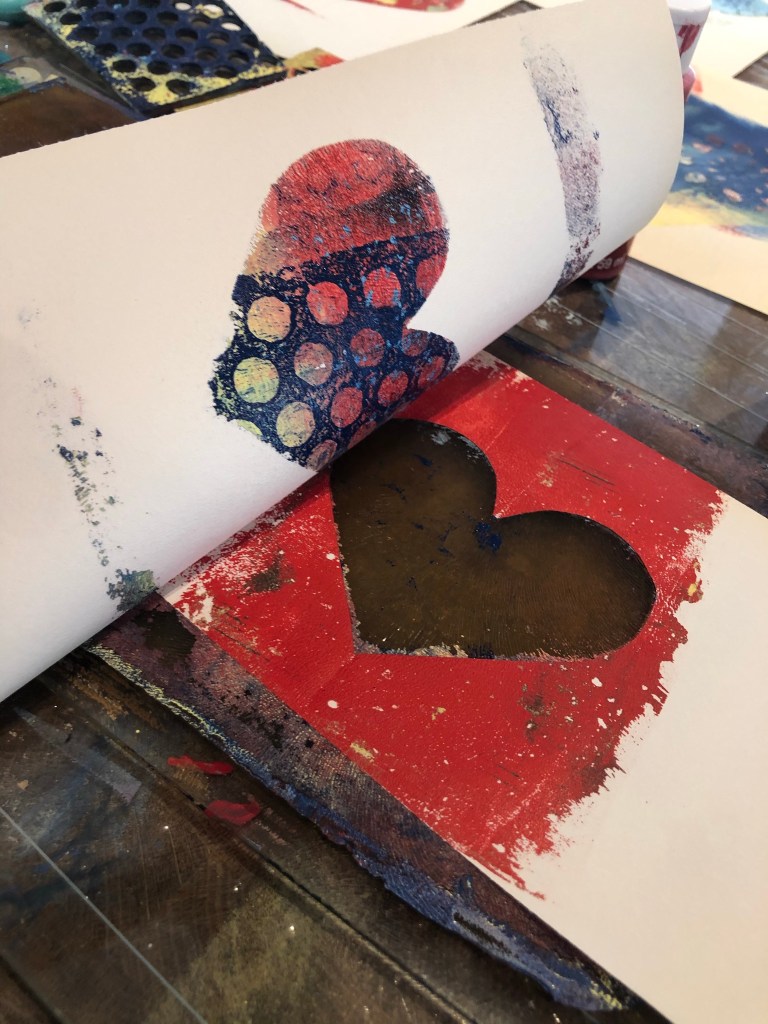
makes a heart shaped print, because the paper masks the rest.
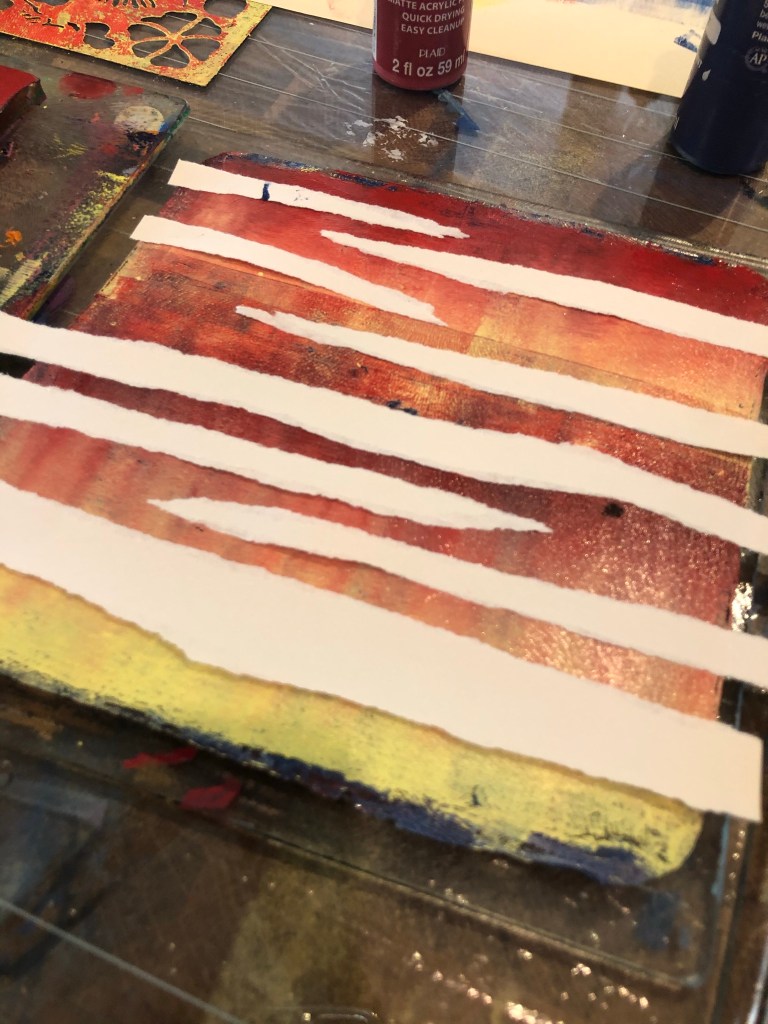
Torn strips of paper laid on a paint-layered plate… 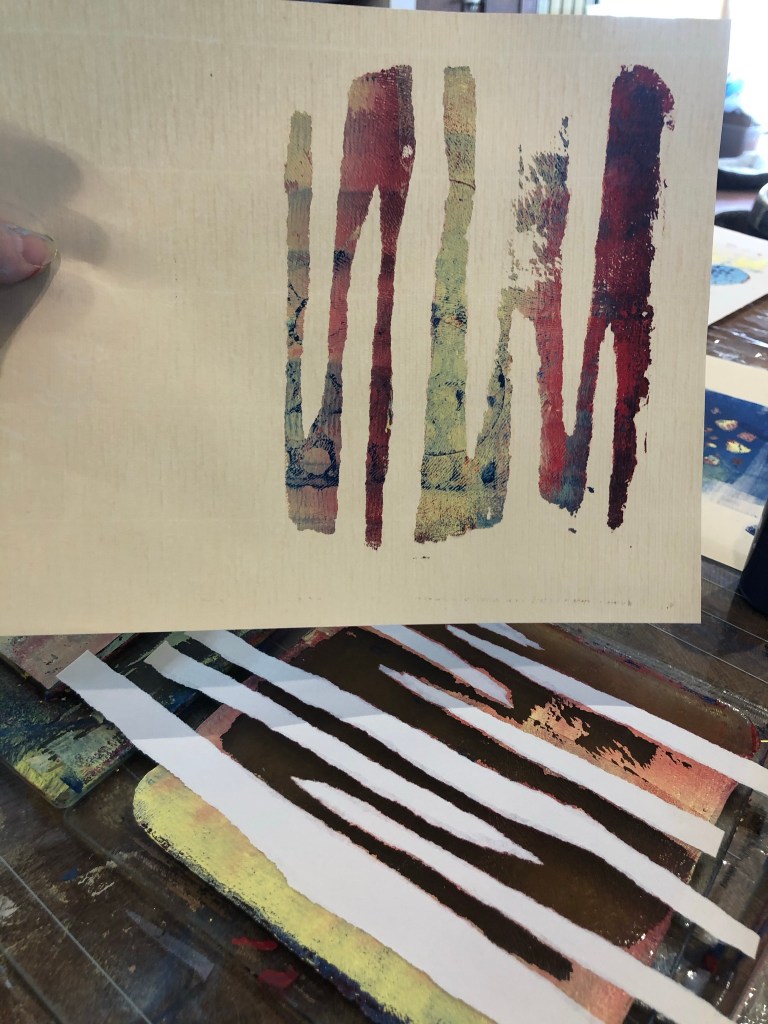
creates a zigzag pattern because the paper created a mask.
Don’t overthink it. Make prints and prints and prints. Sometimes you won’t appreciate them until you come back a day later and see what you made, unfettered by your expectation of how it was going to look.
Sometimes your print will look like the dog’s breakfast, all but a really interesting corner. Sometimes you’ll keep ho-hum prints and later, when you are making a paper collage, it will be just the right color/texture. Sometimes you have a great result, and have to recreate a process to try to capture it again. It’s al good healthy exercise for your brain, your eyes, your curiosity and imagination.
CLEAN UP is easy if you don’t wait too long. I don’t do much cleaning up, actually. My tools and glass and stencils and printing materials are caked with layers of paint, as are the outside edges of my plates. It’s my “aesthetic”, lol. When my printing glass layers get too thick, I scrape with a razor blade like when painting windows. I wipe down my brayer and plates with a diaper wipe or wet paper towel before I put them away, and dry the plates thoroughly before stacking to store (wet spots make little divots.)
WHAT DO YOU DO WITH ALL THESE PRINTS?
This is such an adult and logical question, especially prevalent in my midwest culture where our work ethic and roots in agriculture and industry mean things have to have a PURPOSE. Add to that the goal-focus we get from years of formal education, and this question is somehow inevitable. The answer is: it really doesn’t matter. You can make a greeting card, wrap gifts in it, linocut print on top of it, make bookmarks out of the pretty bits, frame your favorites, burn them in a bonfire and dance around the flames. You can cut them into tags, save them for collages, tuck them in a folder for someday.
I have used my gelli prints for:
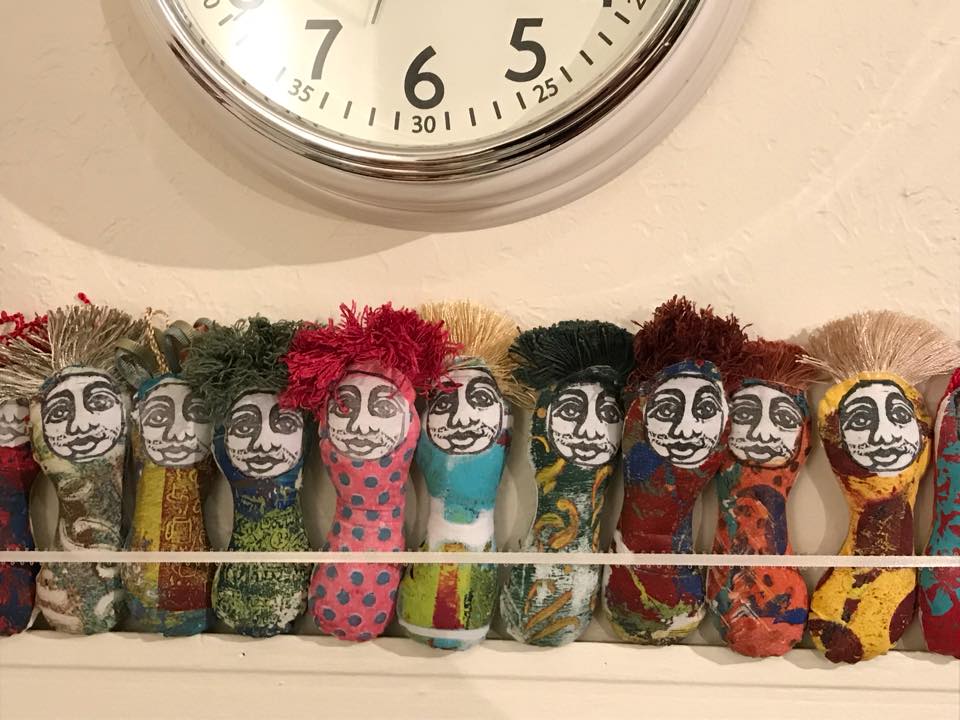
Making Anthropods for ArtOMat
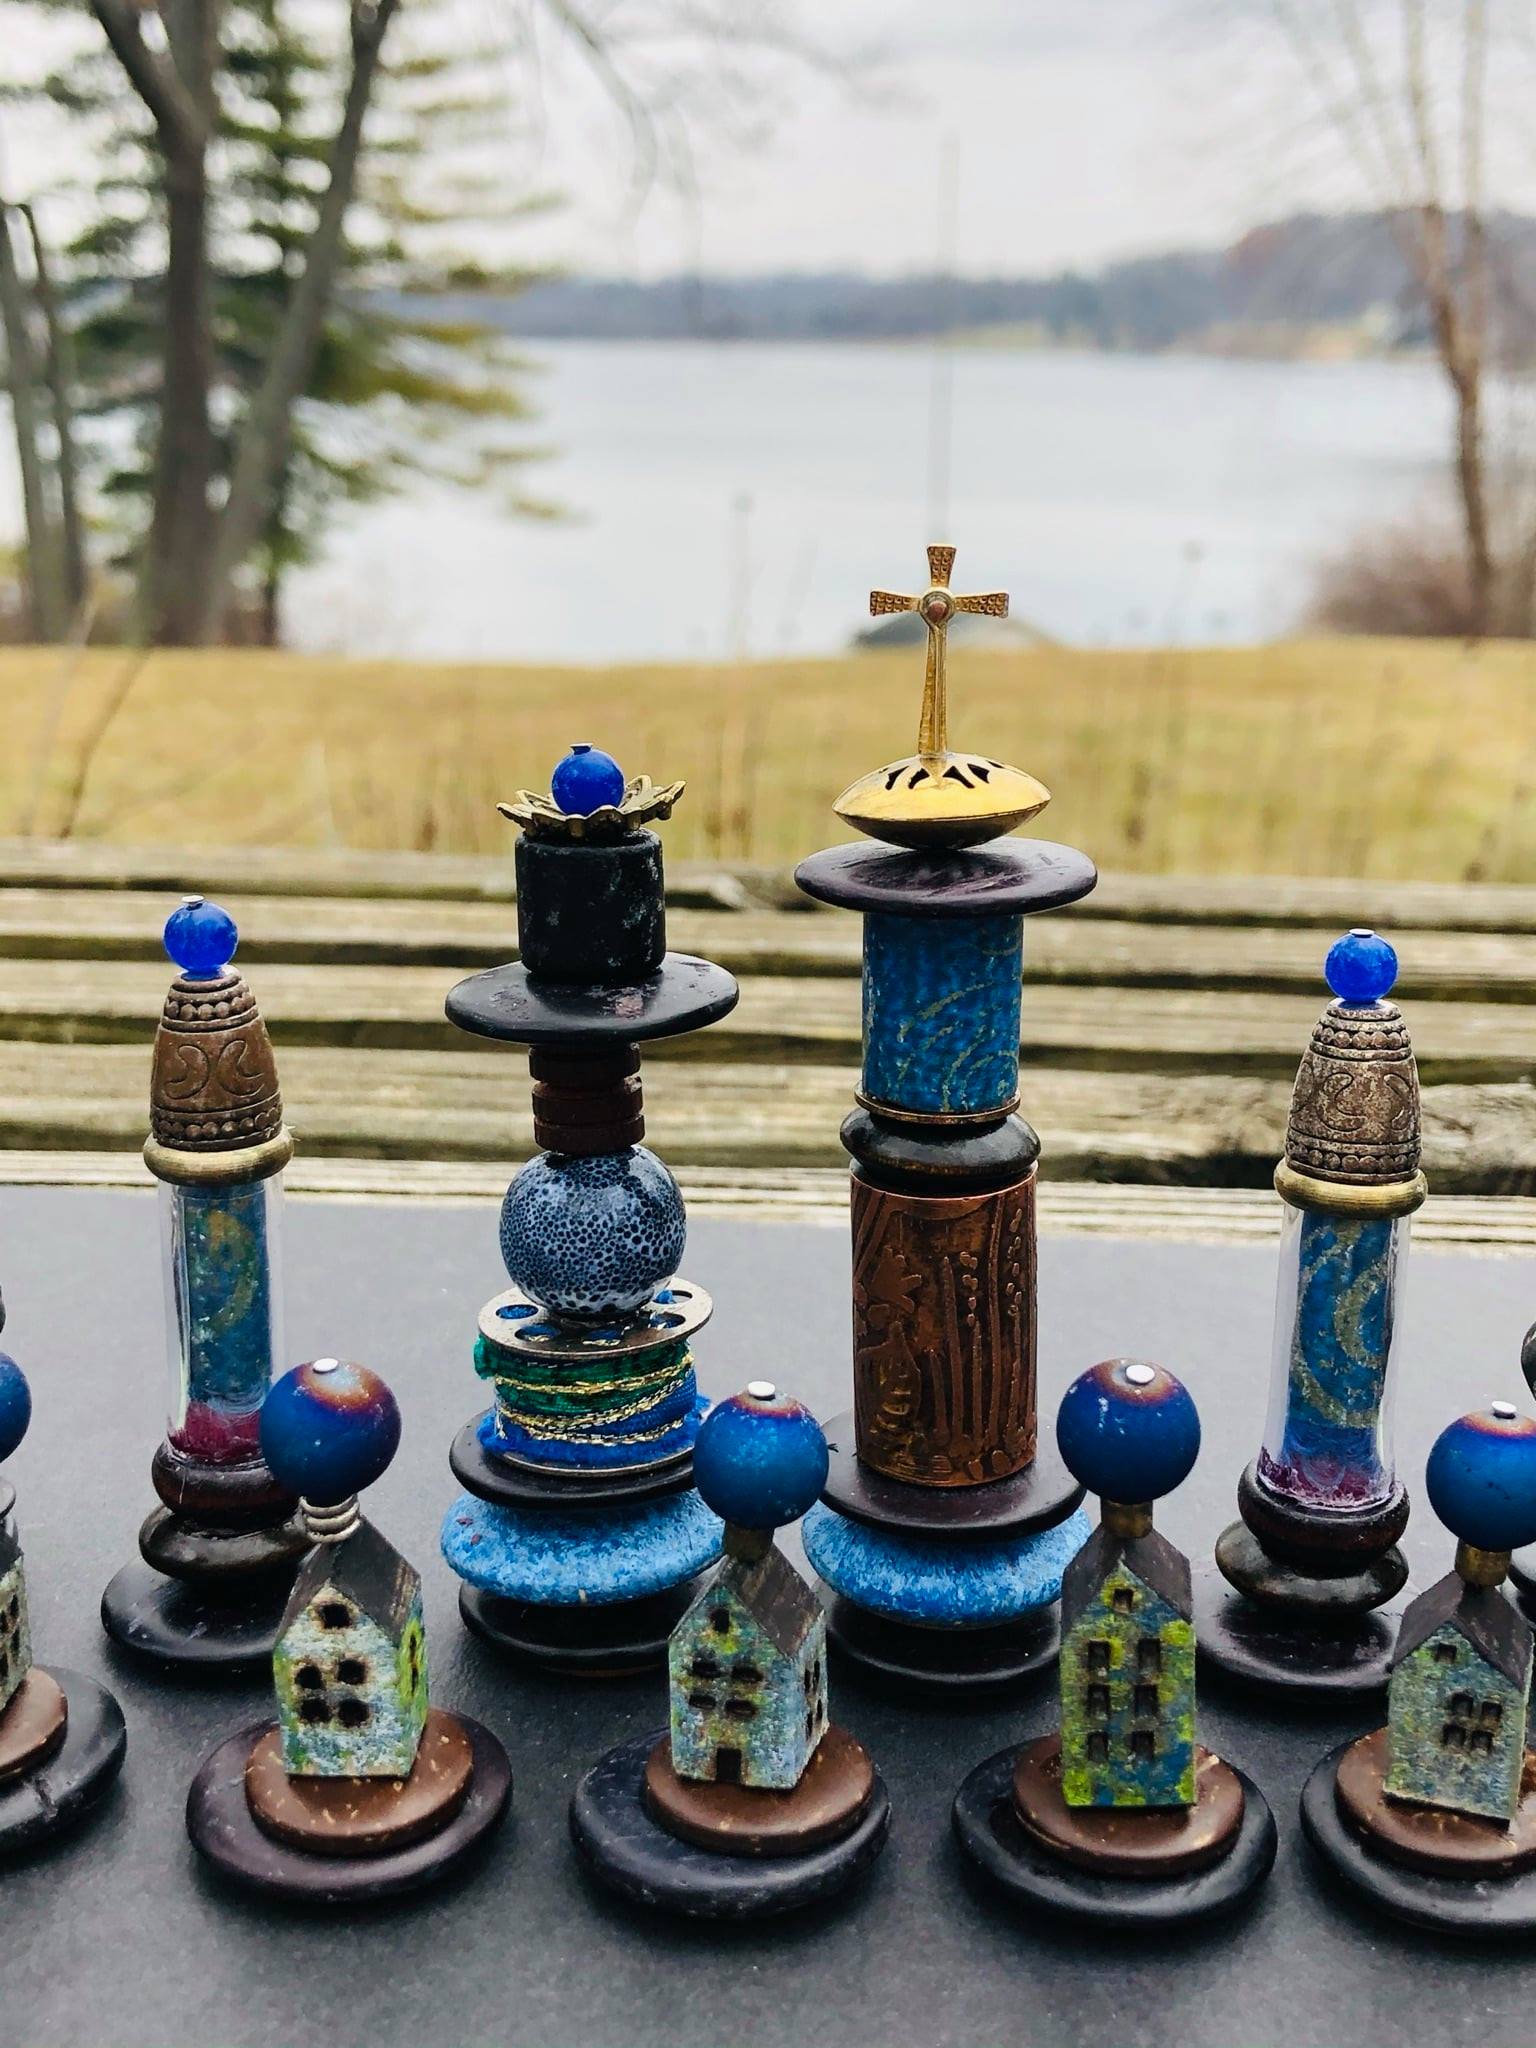
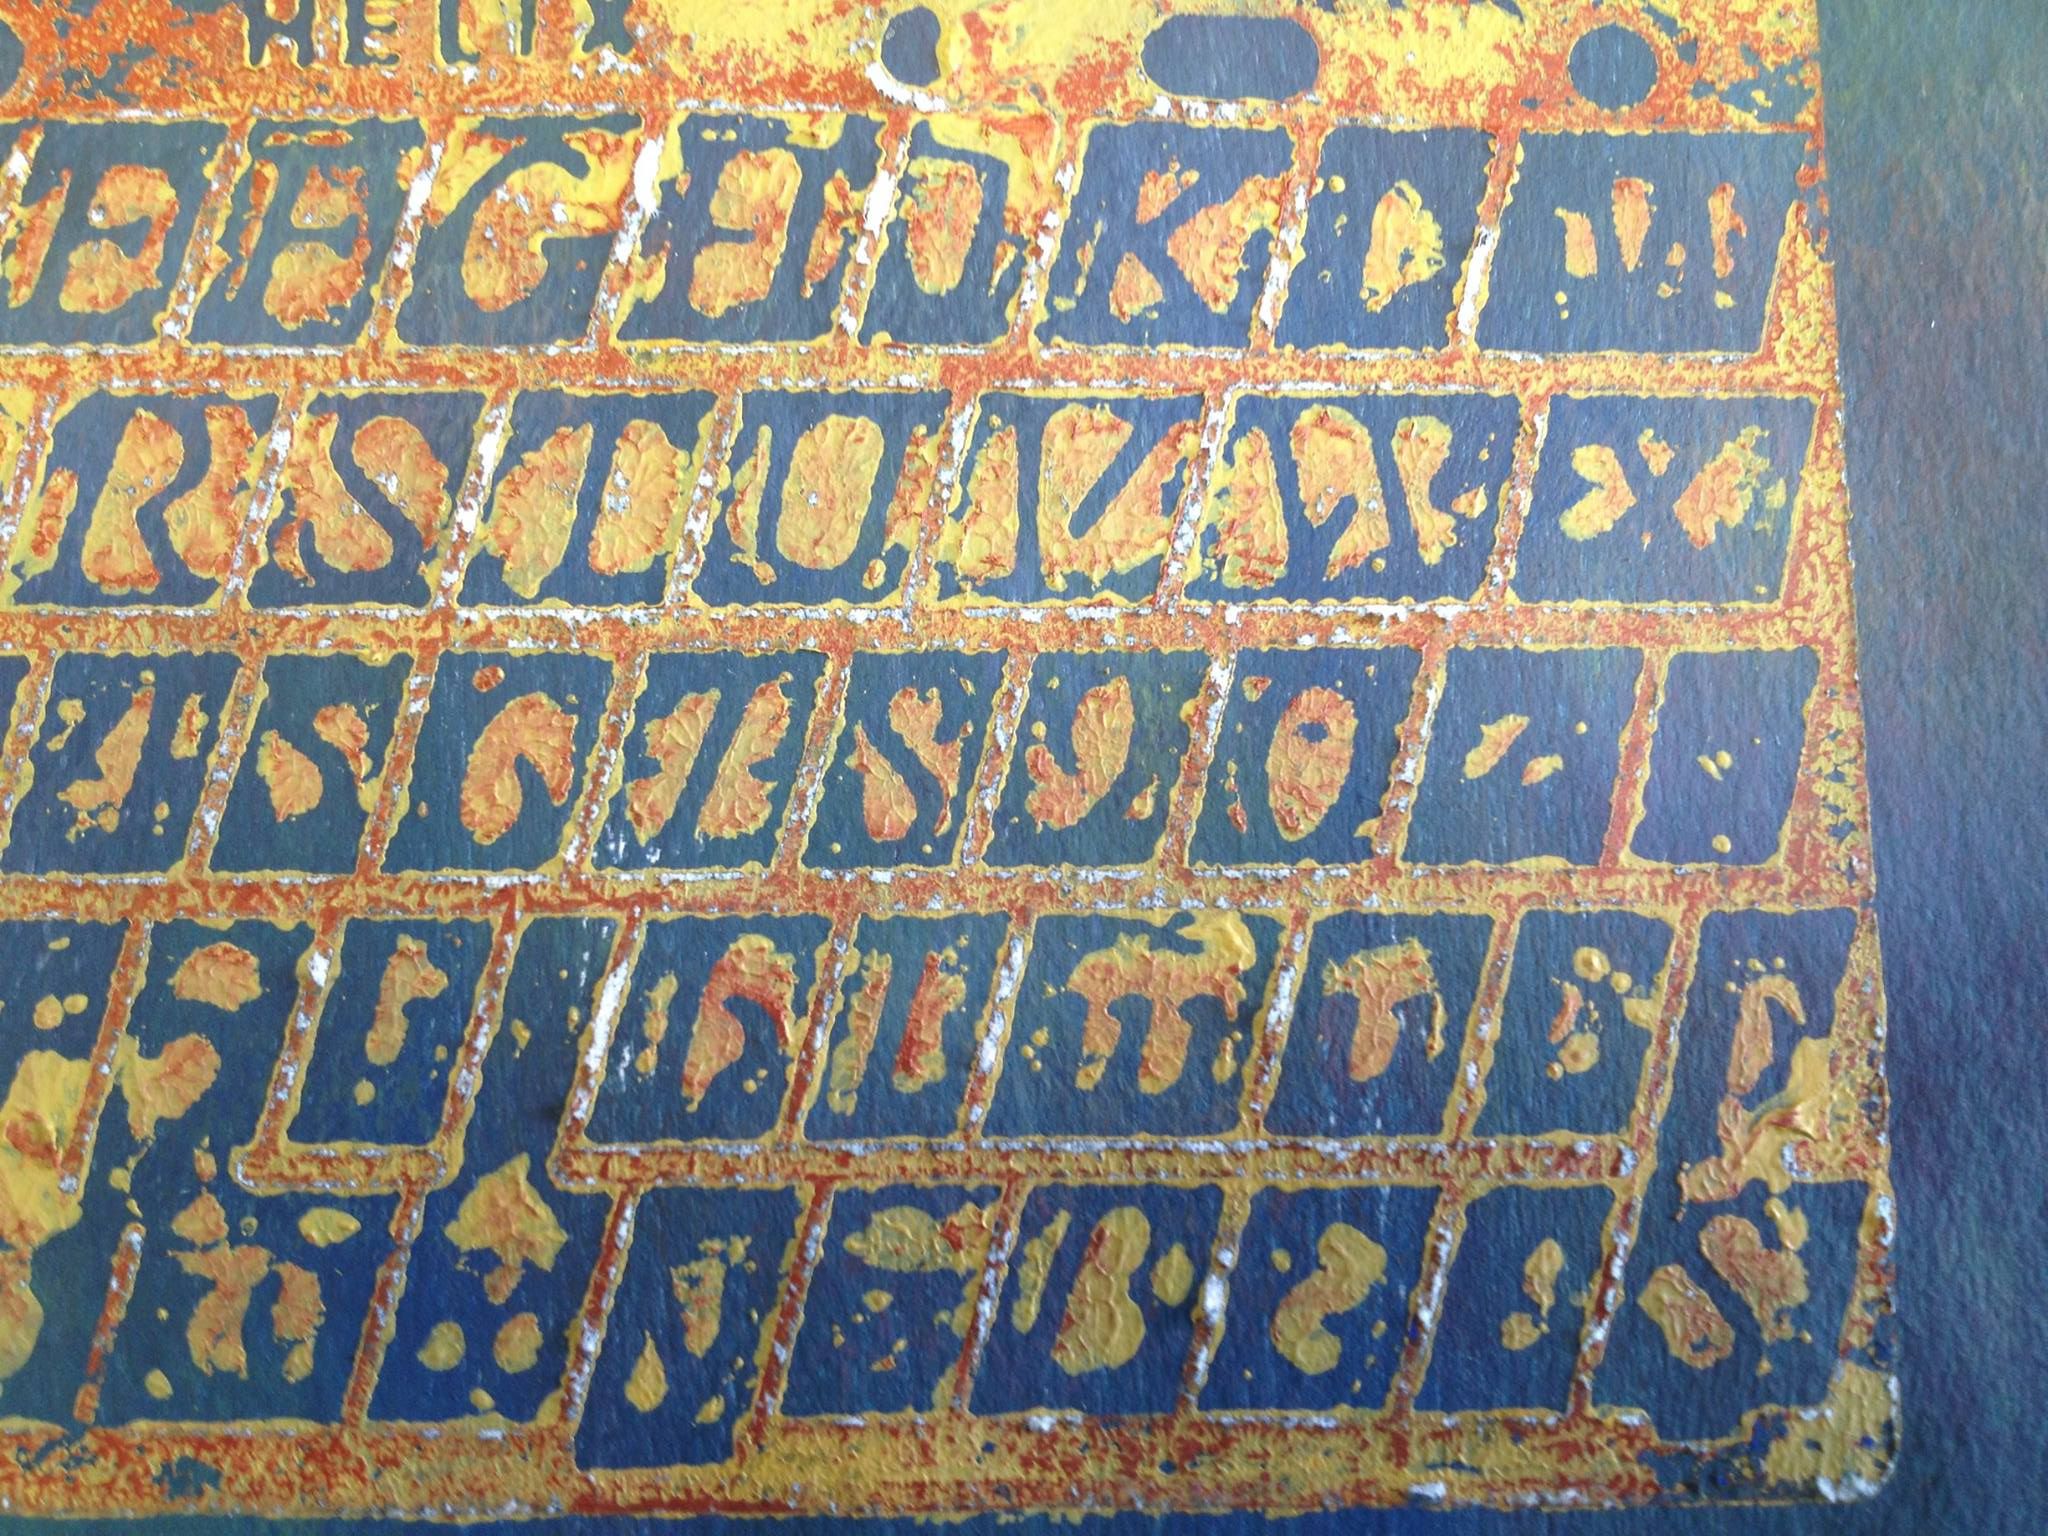
Making this chess set for no reason
Making collage pieces for these giant sardines

Making houses and parts for jewelry at my Etsy Store

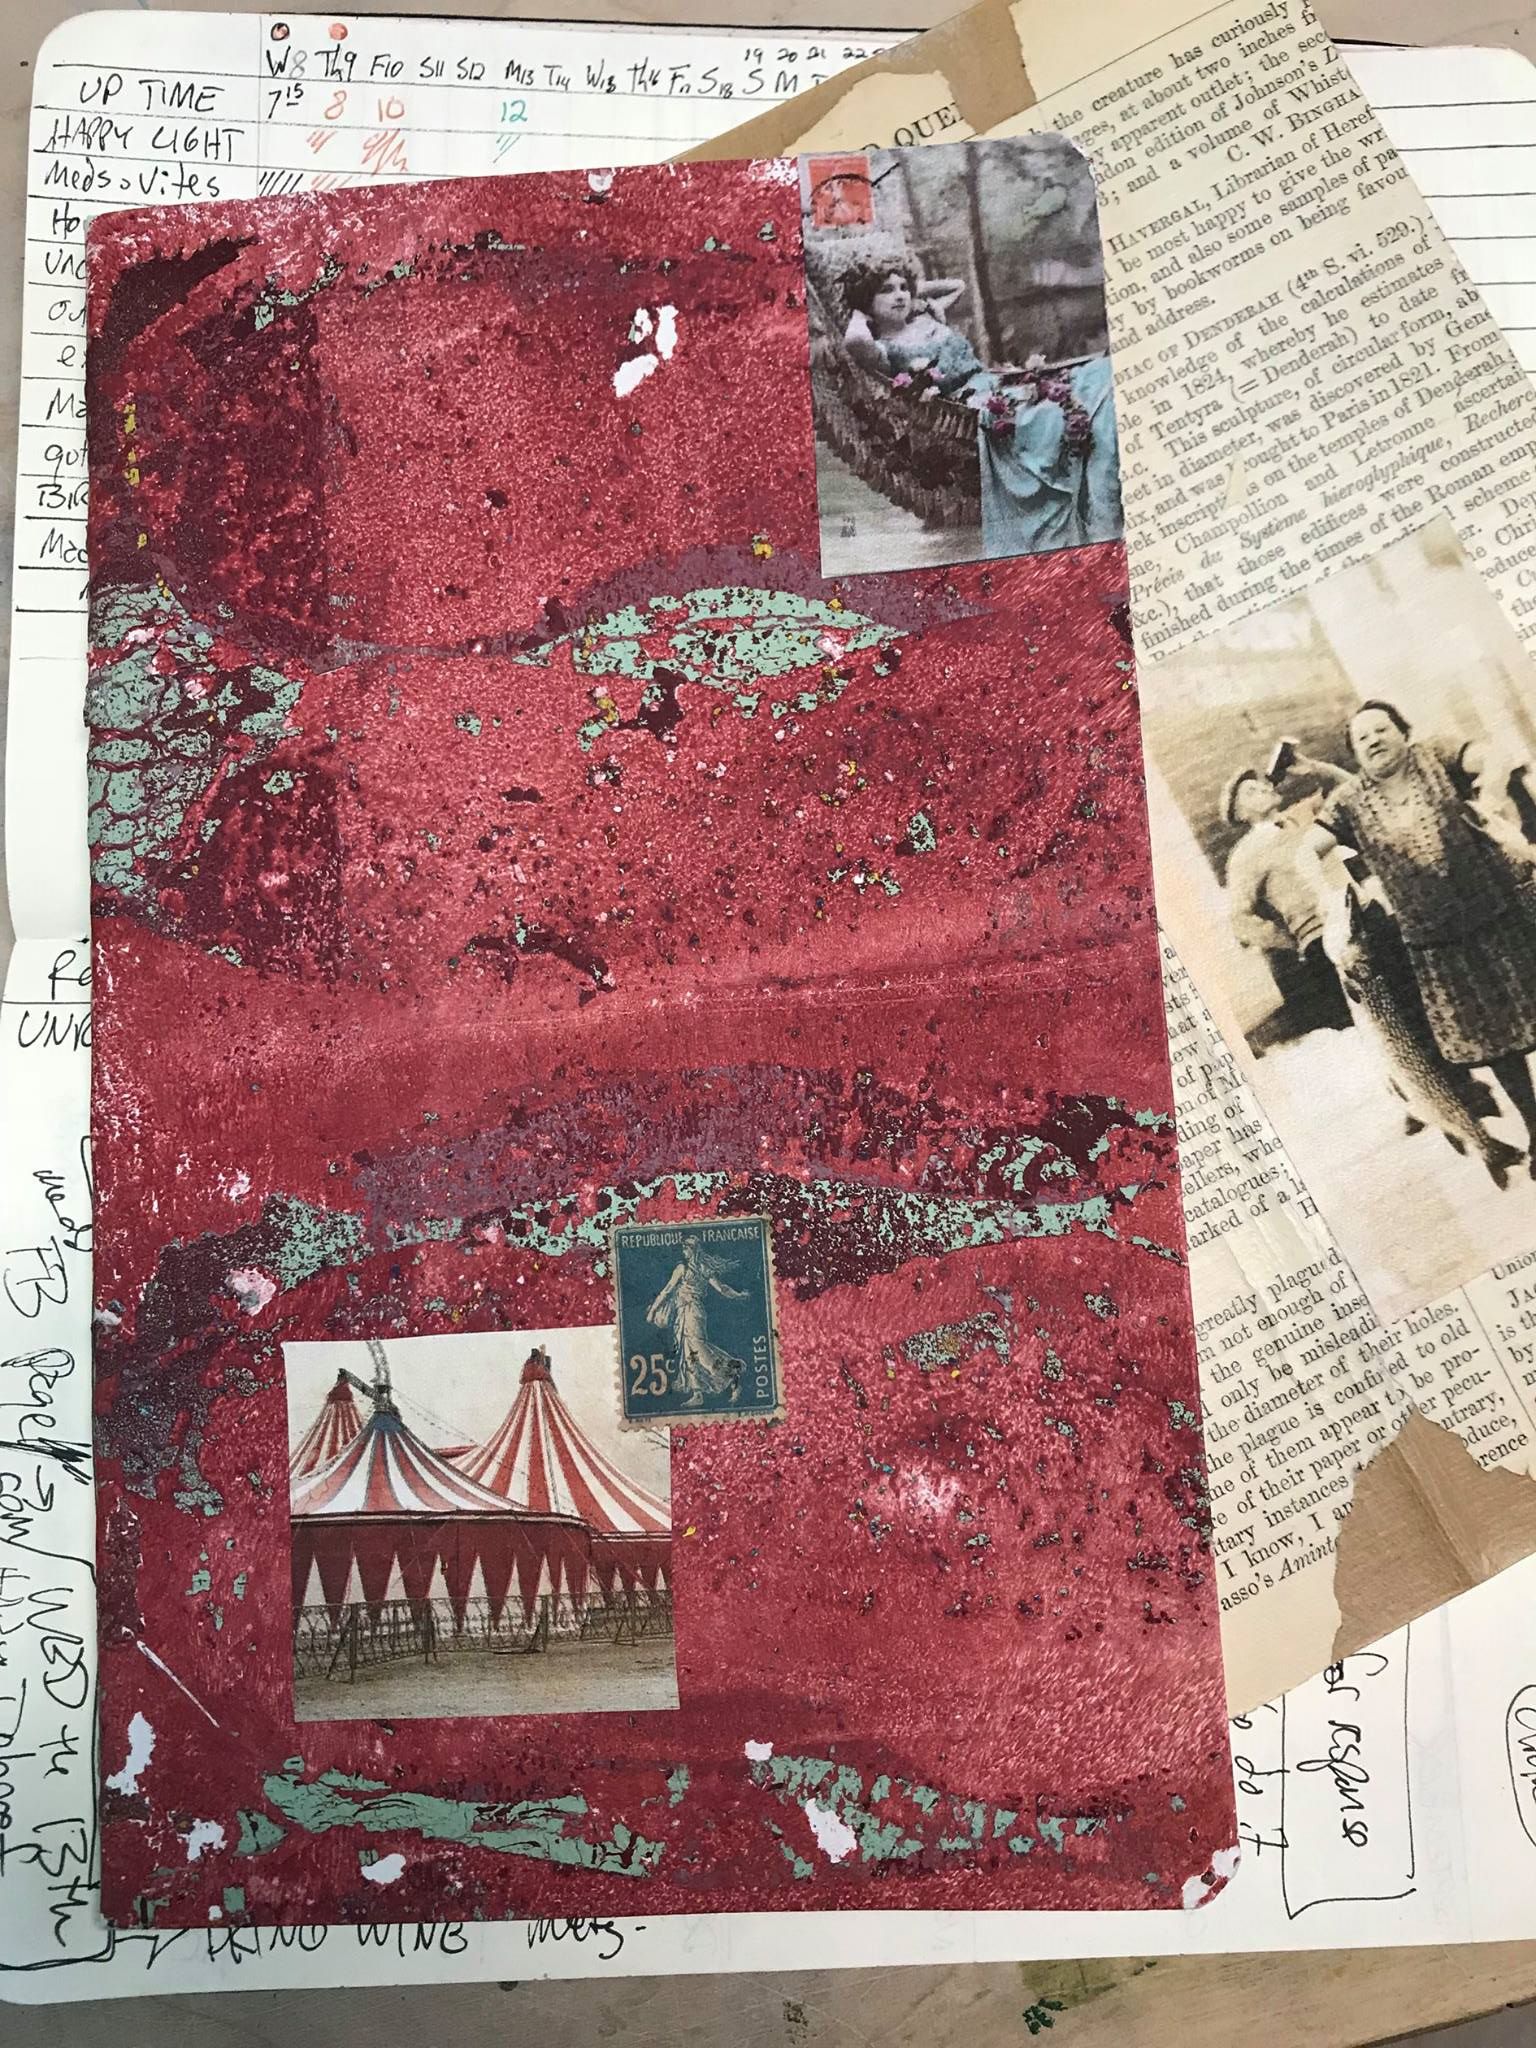
Covering my bullet journals and art journals
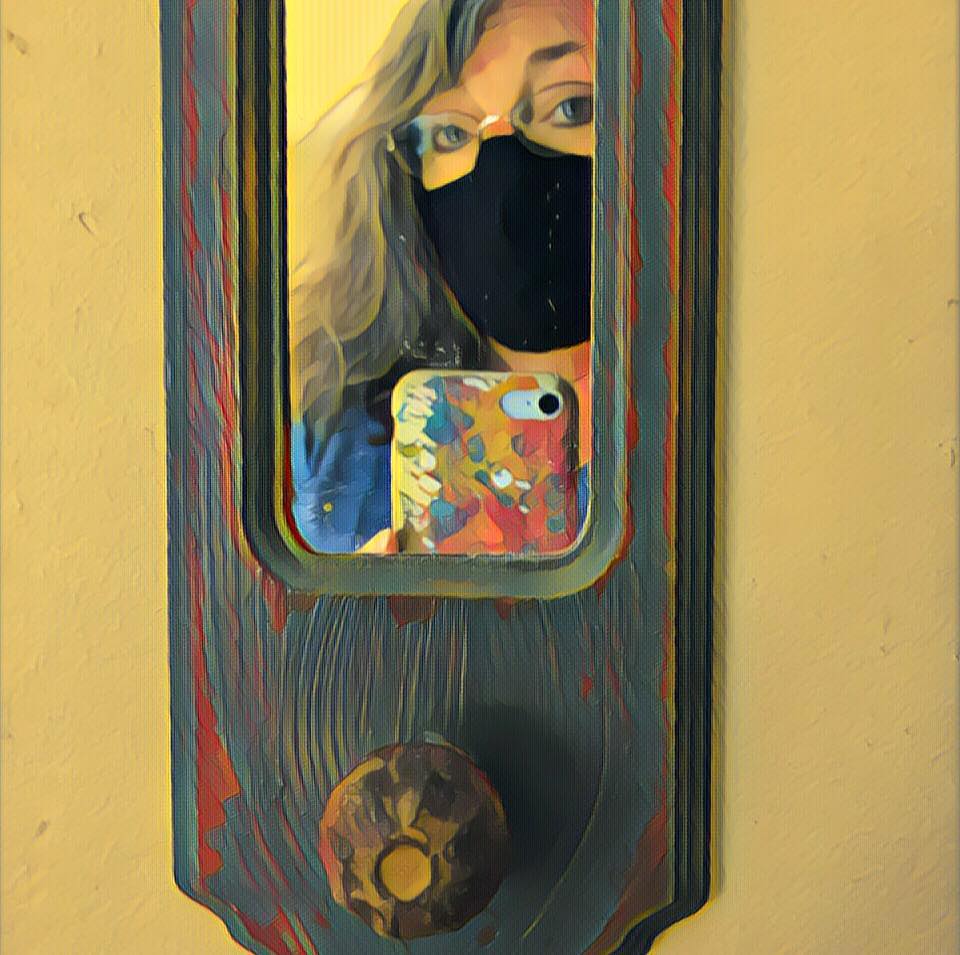
Fitting in a clear dollar store phone case to decorate my cell phone
Using as a matt or frame for my linocuts
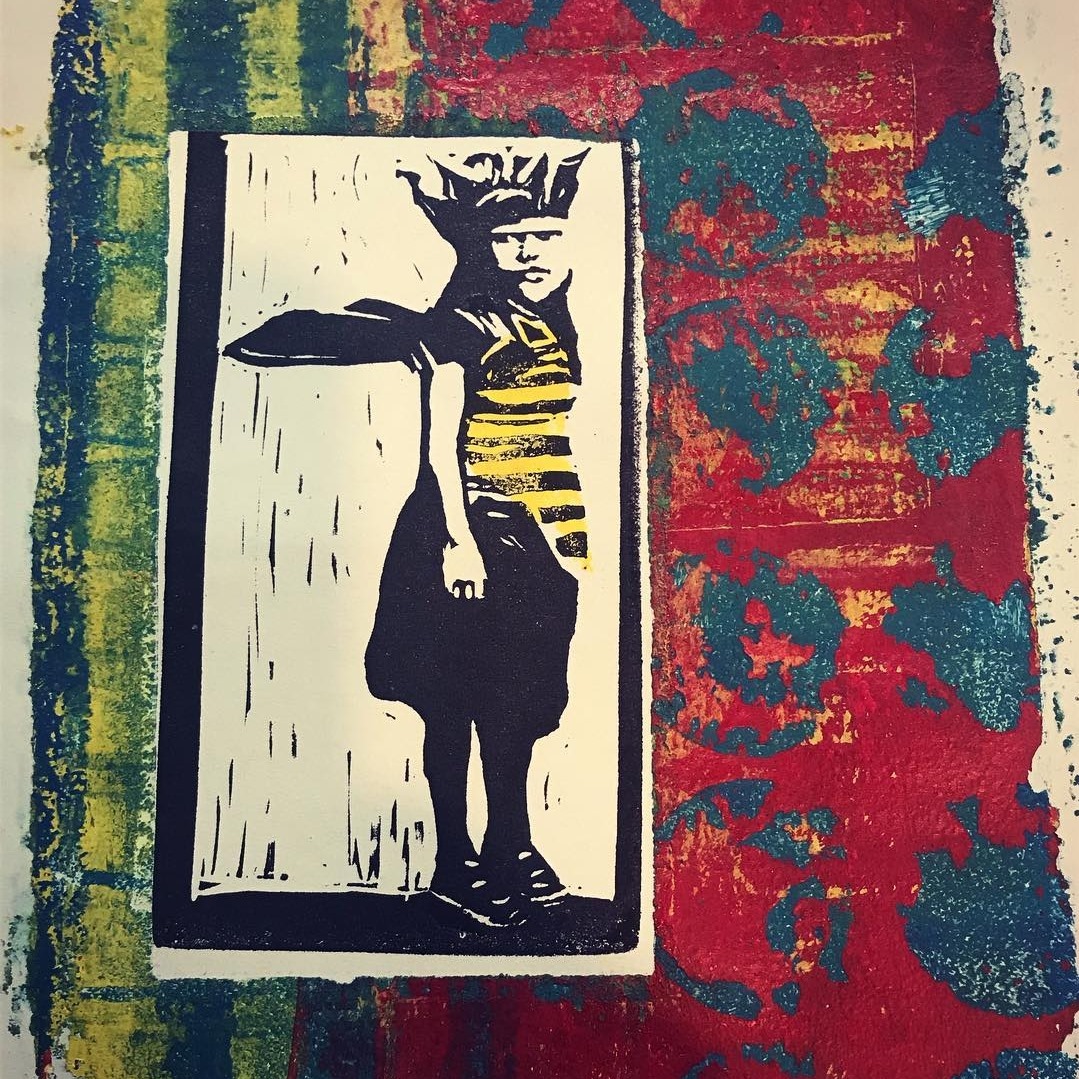
Framing
And teaching (before pandemic, and after!) at Hands On Studio at Toledo Botanical Garden.

That’s it, for now! Ask me questions if you like! I hope to have a youtube demo up soon, working with the guys from Bucketnaut. In the meantime, if you get hella rich making prints and teaching printmaking and want to poke a dollar in my tip jar, there’s a link below. Have fun! Make stuff! TTYL.
Make a one-time donation
Make a monthly donation
Make a yearly donation
Choose an amount
Or enter a custom amount
Your contribution is appreciated.
Your contribution is appreciated.
Your contribution is appreciated.


Leave a comment